Wolvo with Mike O’Orourke

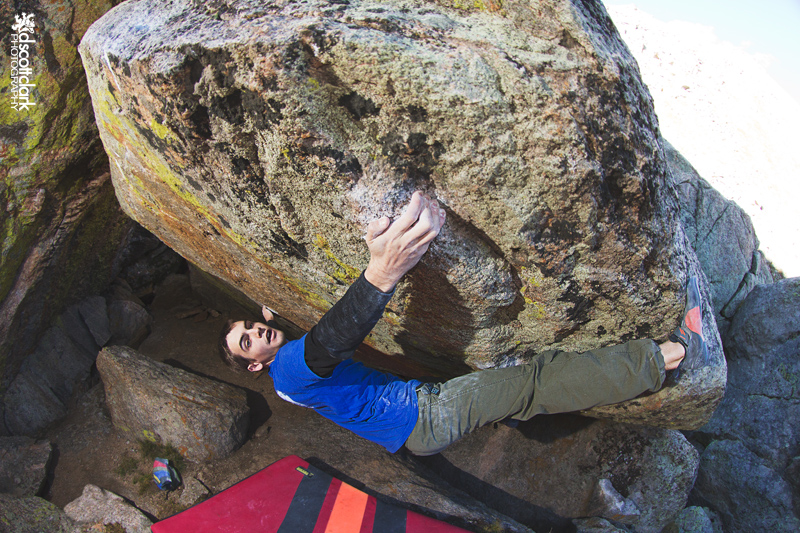
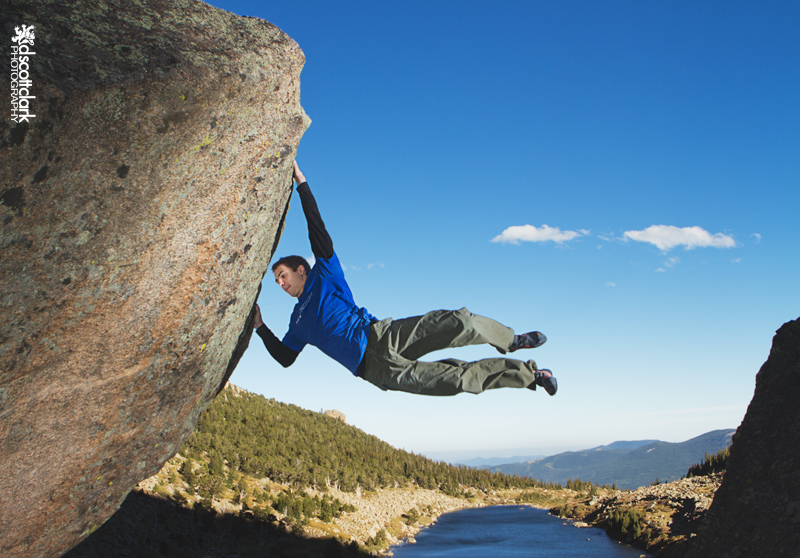
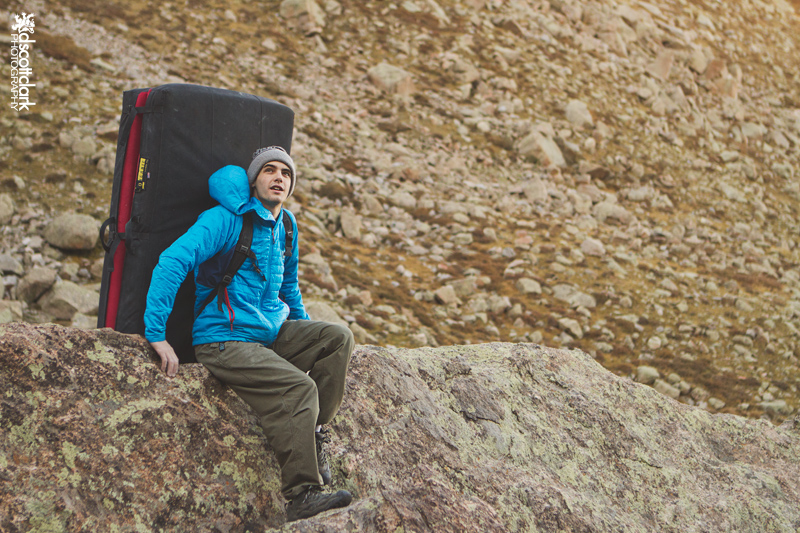
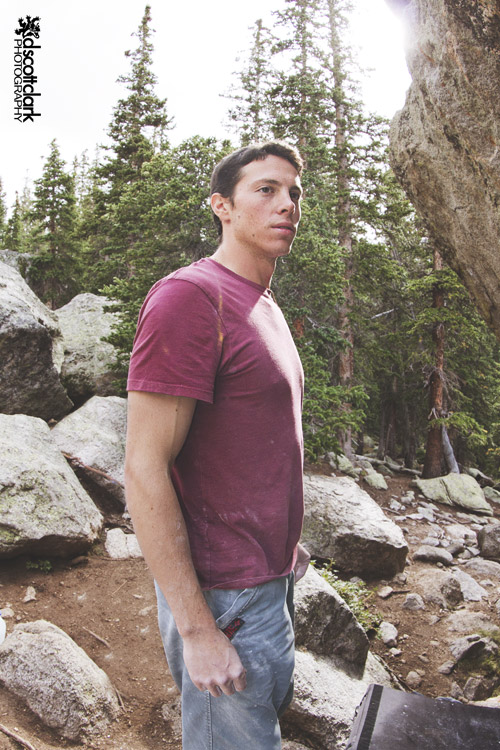
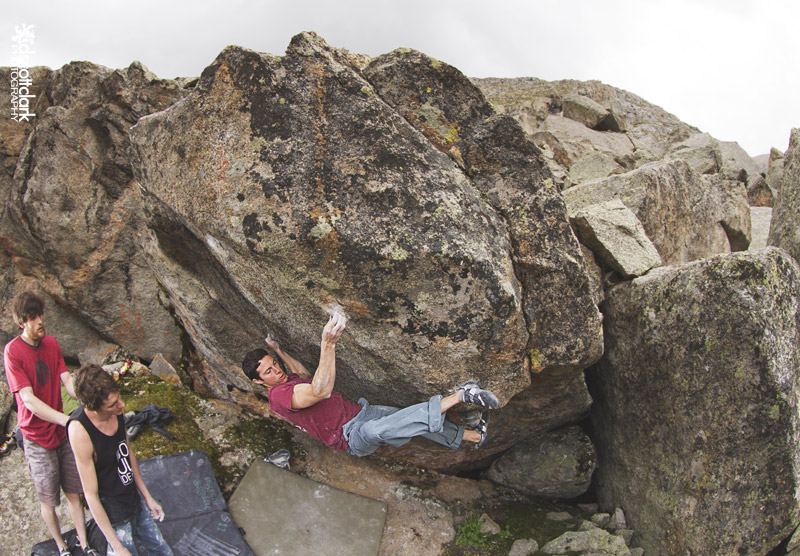
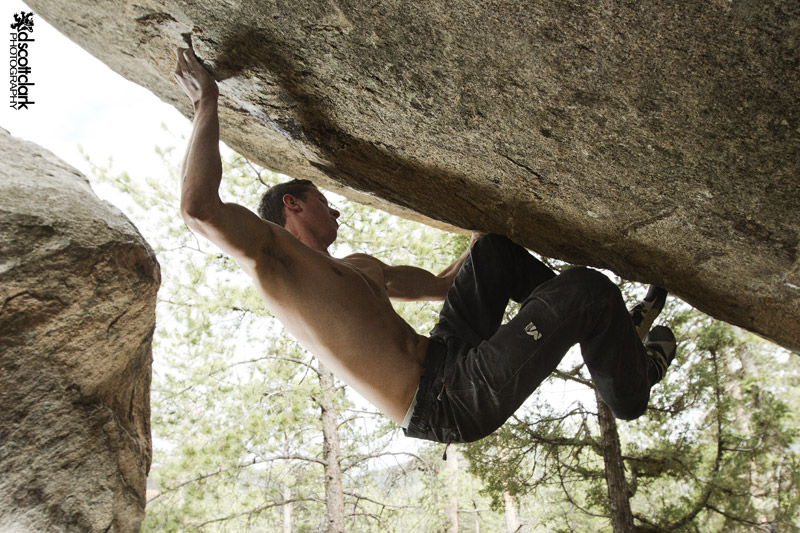
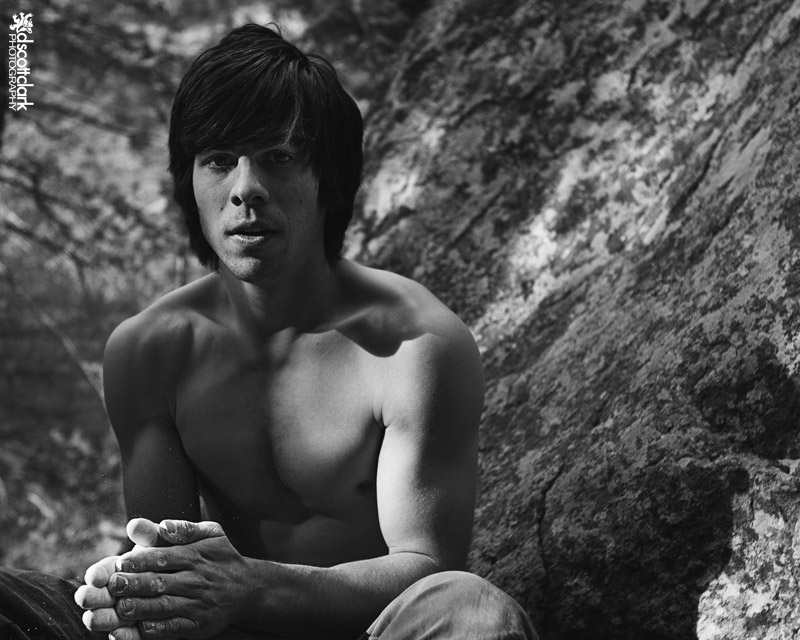
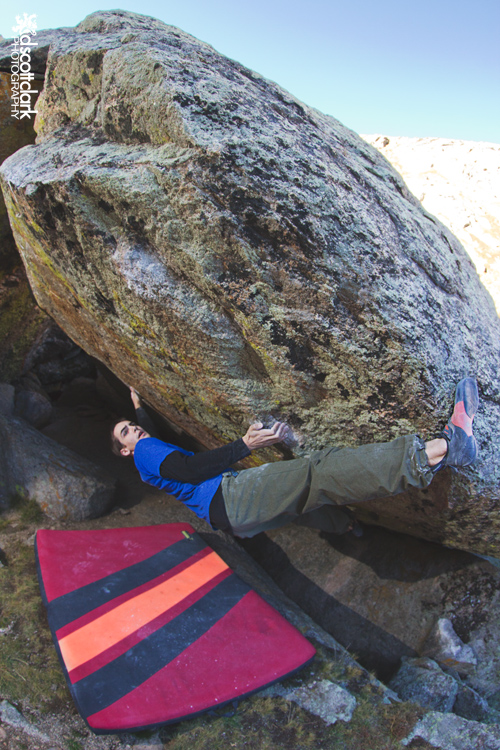
Last week I got out with Mike O’Rourke, a climber with Mad Rock, to Wolvo at Lincoln Lake on Mt Evans. It’s a expansive bouldering field posted around Lincoln lake that is situated below the country’s highest paved road, at over 14,000 feet. To get to the boulders you descend a very steep talus field for a few hundred feet (a blast to walk out of) to find an almost endless supply of granite. Mike quickly sends a Rebellion Sit (V10) that starts in a dark granite cave and exits with an awkward crawl between rocks. 
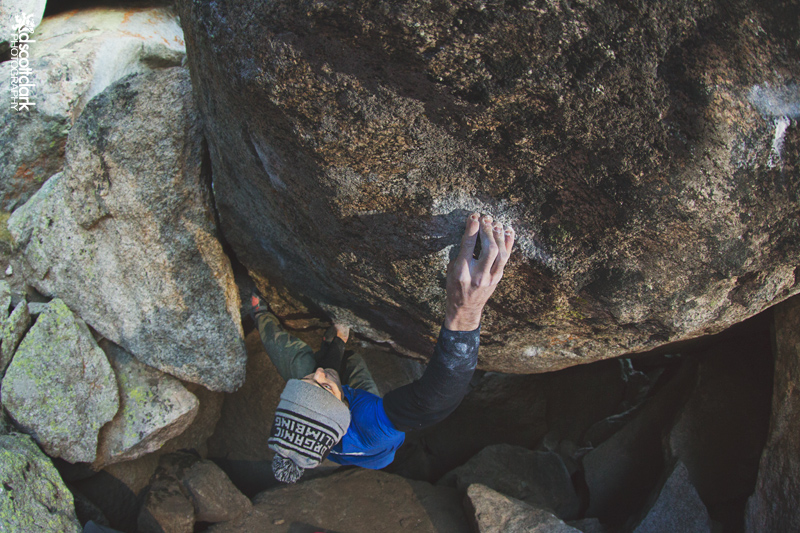
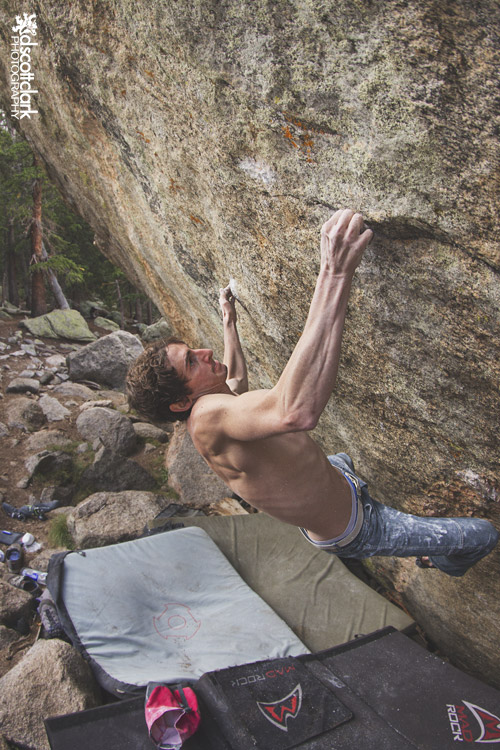
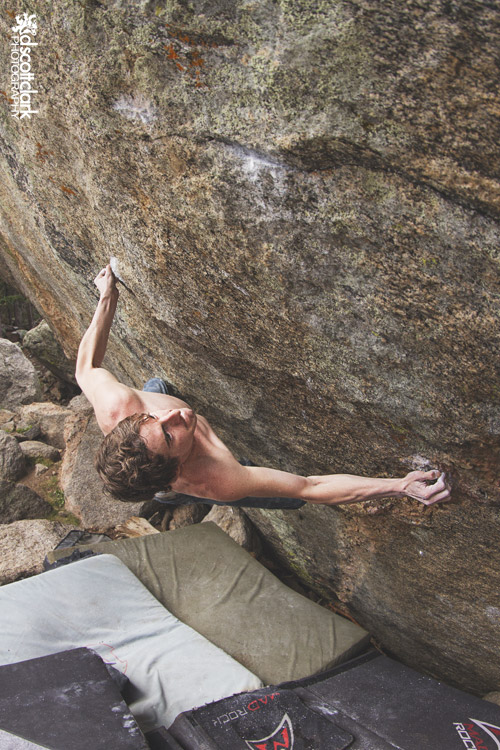
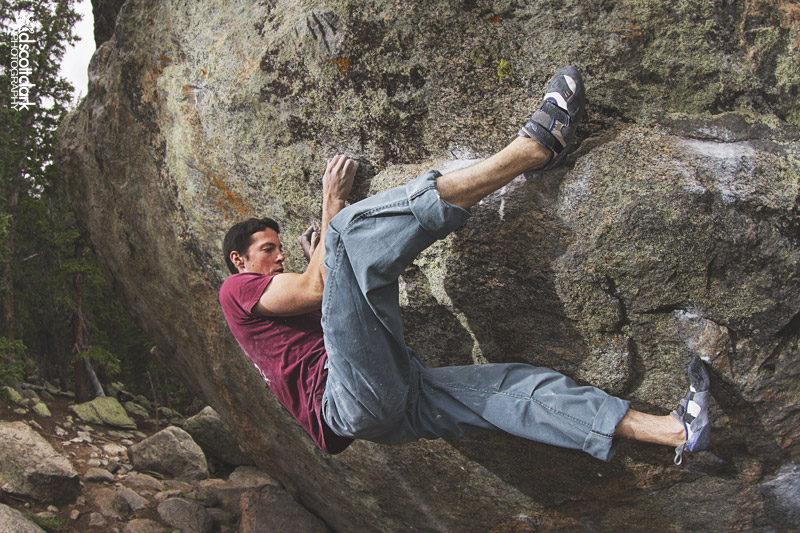
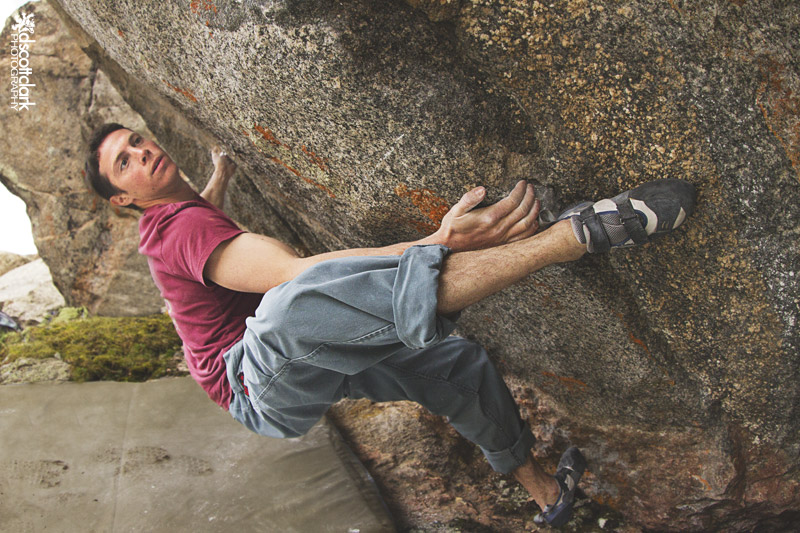
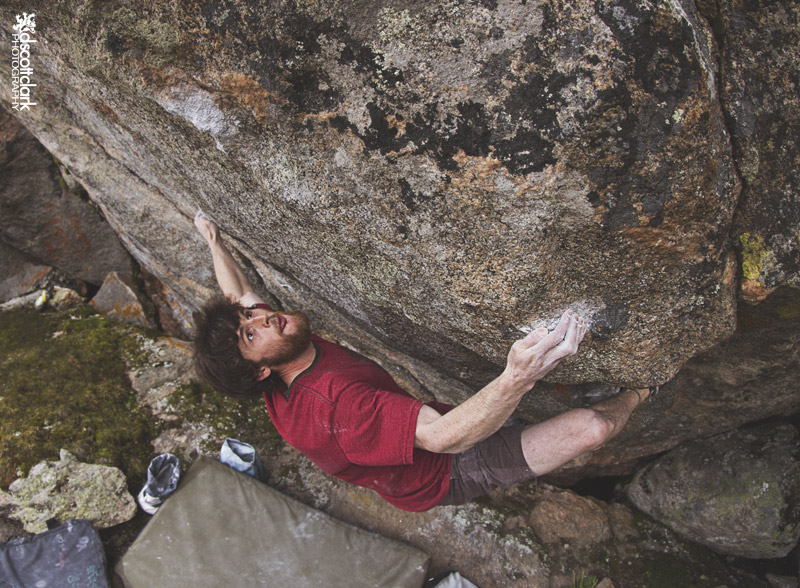
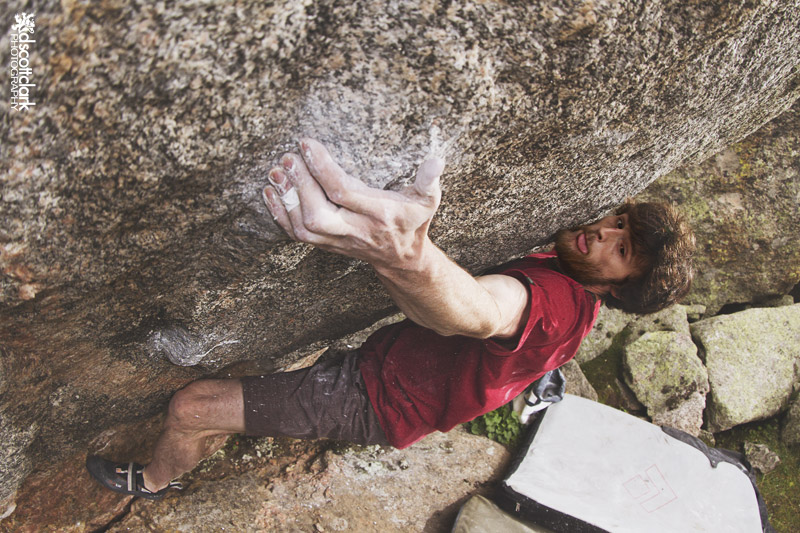
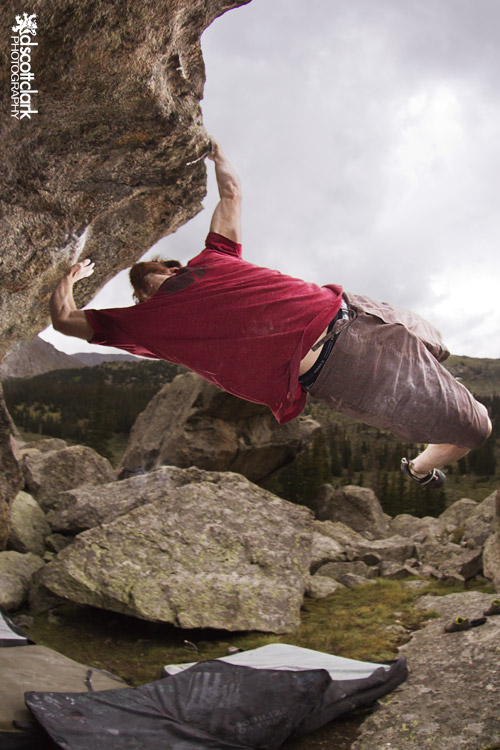
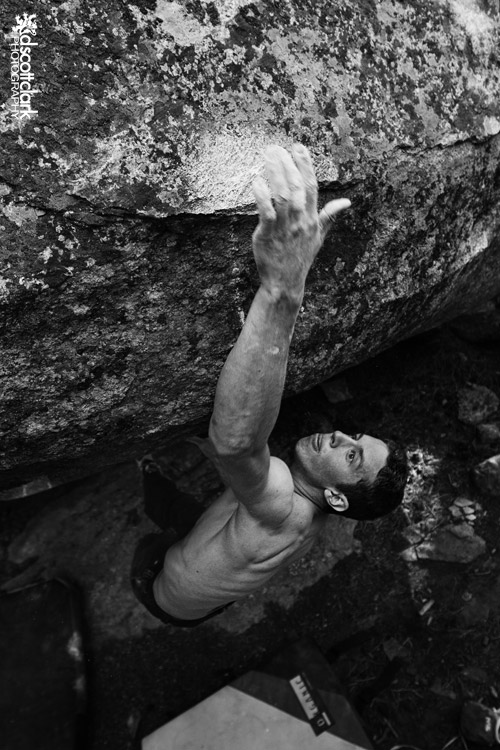
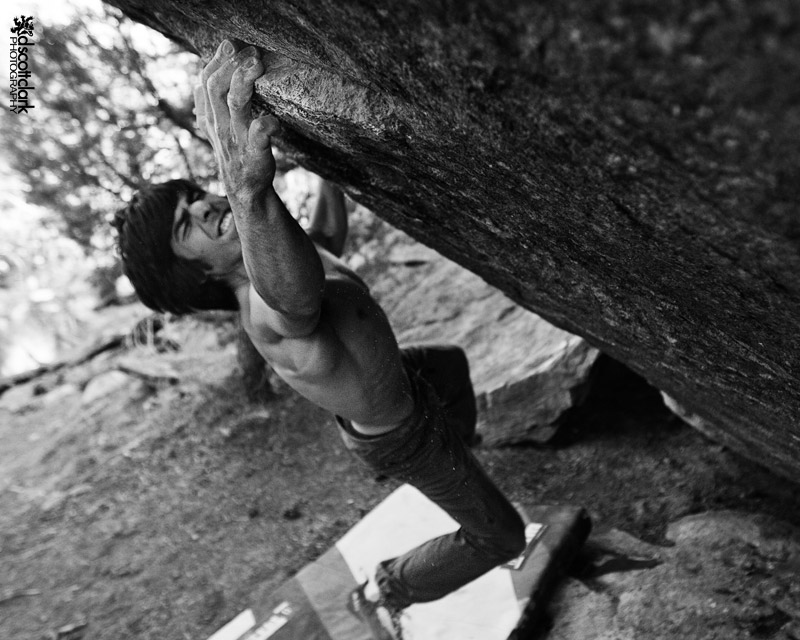
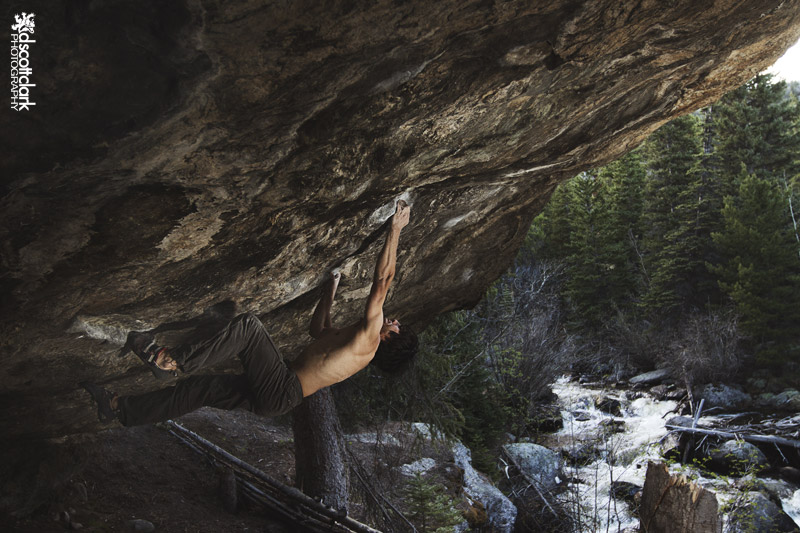
Trying to get to another boulder we find ourselves looking at Star of David (V12), that Mike figures out an impressive one handed dyno move to a tiny sloper crimp (jug? that hurt just pulling on by itself) and quickly makes easy work of it.  
Star of David V12

Star of David V12

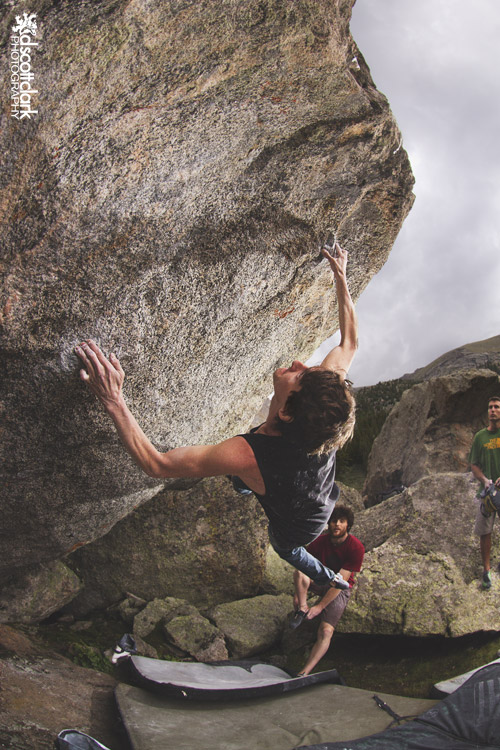
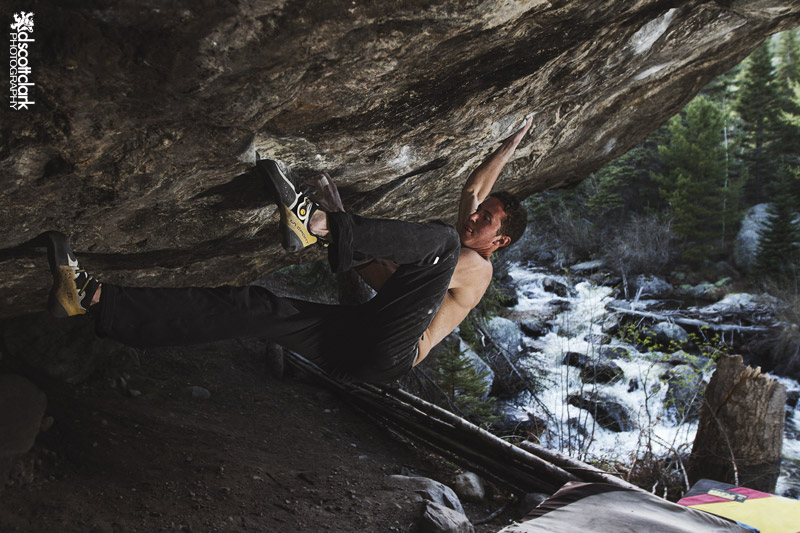
Mike gets his swing on with Lincoln Lake in the background. 

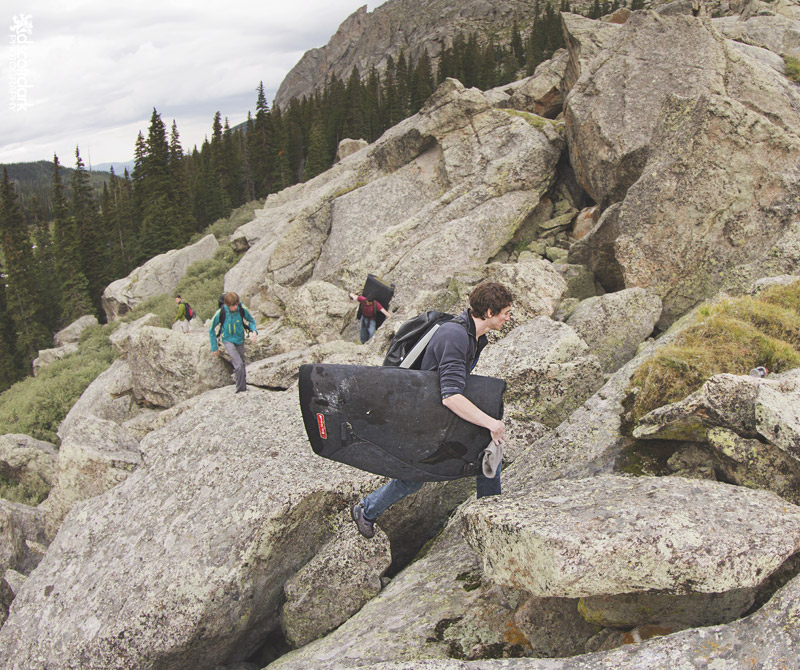
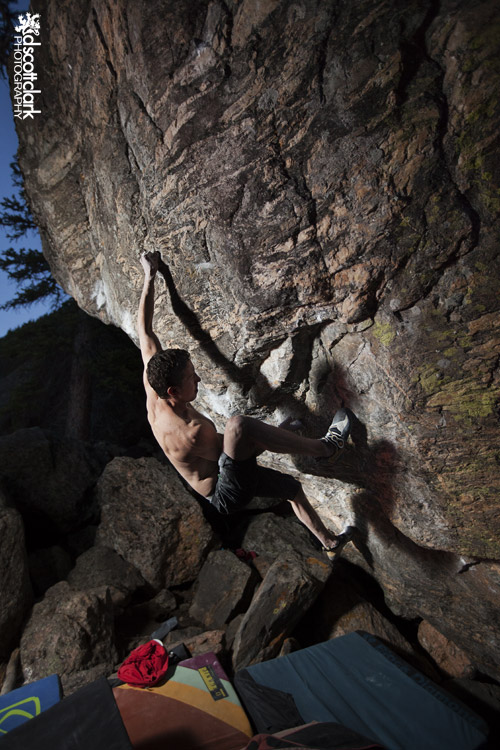
Maneuvering through the boulder field 

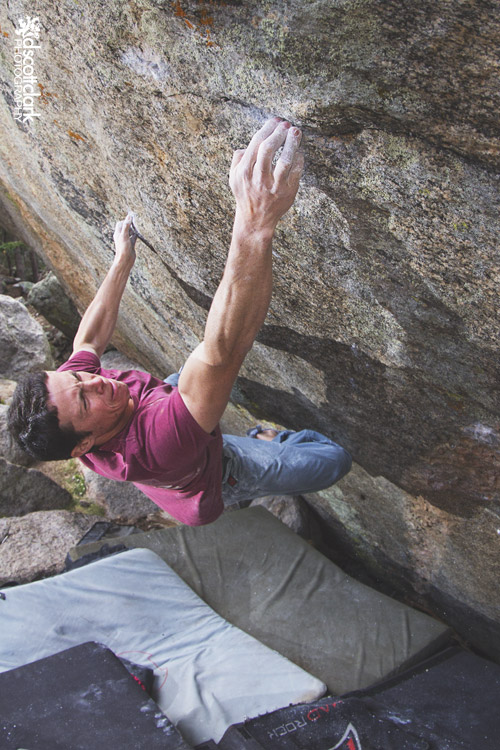
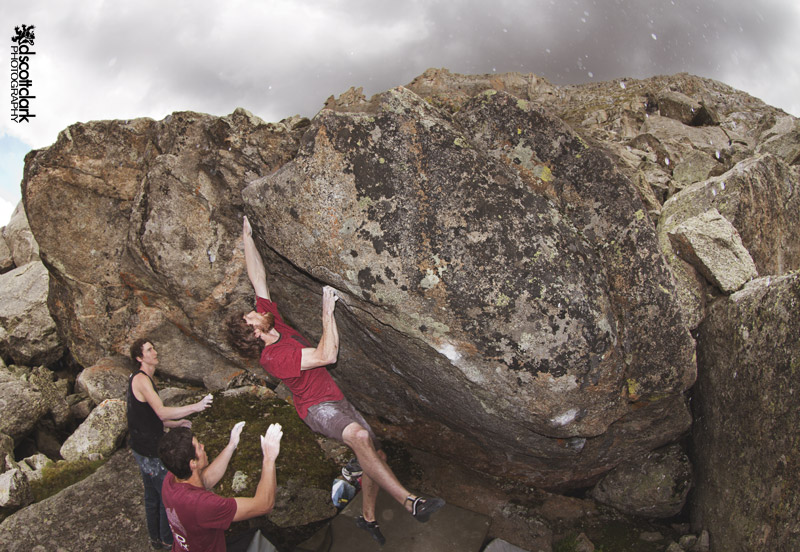
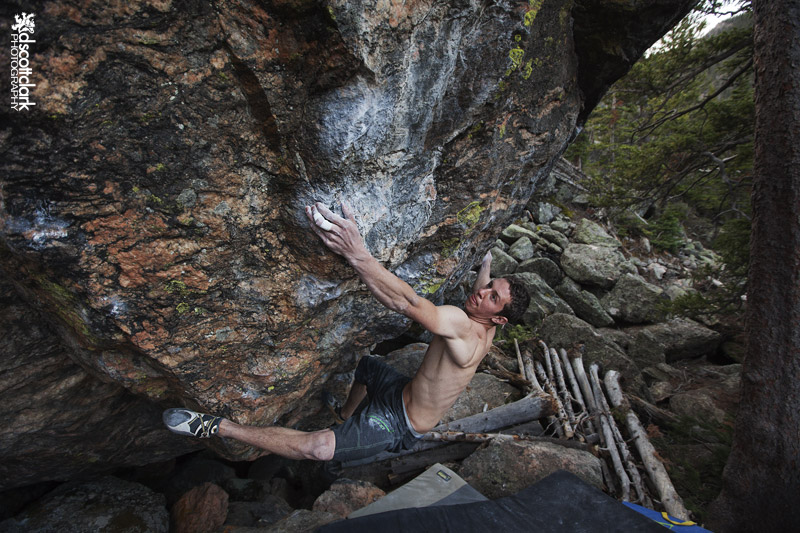
 The rest of the group disappears into the maze of boulders and Mike leads me to Warrior Up, a short but stout V15 with tiny holds. He gives it a few goes, and says he hopes he can finish it before the snows come, probably next week. Anyway, the road to Lincoln Lake will only be open till, at the latest, Oct 6th.

Mike puts some burns on Warrior Up v15

The hike out is a calf burner, short but steep. The sun is going down, the wind is picking, and the temperature dropping as we get up to the road. The end of the season is close. 

New Website Design

For the past few weeks I’ve been redesigning my website. I went through a few different avenues when I thought I was going to change to a prefab site such as Squarespace.com, but when I found I didn’t have the control I wanted over the design I looked into other options. After scouring the web for a Javascript plugin that would work I finally found a photo slideshow carousel that I could manipulate to my needs.

Hopefully you will find this easier to navigate and all around a better user experience. I’d love to hear what you think!

www.dscottclarkphoto.com

A Picture of Trees

The last month has been a bit different for me and I haven’t really had time to post anything on here. I’m sorry. I want to be better about having new content regularly. Anyway, to tide you over, here are a couple of old photos I’ve re-edited.

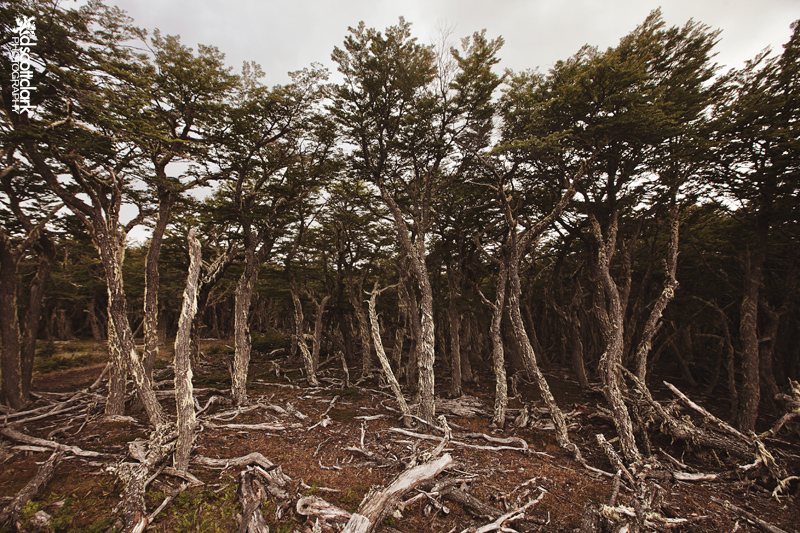
windblown trees in Patagonia of Chile

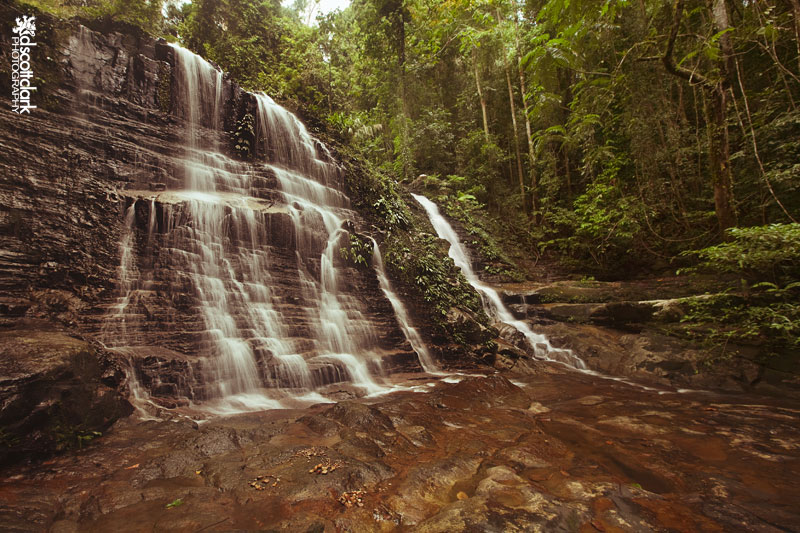
waterfall on the Malaysian side of Borneo

Side note: My website is currently being updated with a new design. Should be done soon. 

Mt Evans with Rob D’Anastasio, Jimmy Webb, and David Graham

Colorado has been very wet this late summer, storms coming in most afternoons. It’s been good for the land, but makes climbing difficult.

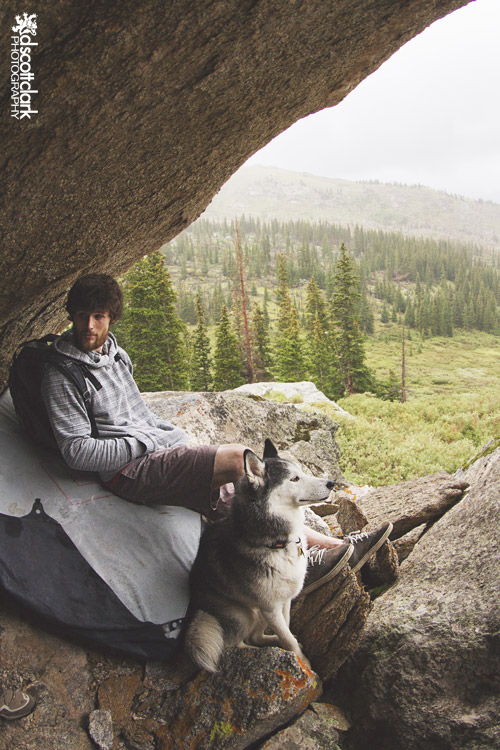
Rob D asked me last Saturday if I’d like to join him up at Mt Evans for a bouldering session with some of his friends. The hike into into Area A takes about an hour and half from the parking lot at Echo Lake. We got caught in a downpour at the reservoir and sat under some trees and waited. After the rain started to pass we kept going up the path. Bouldering pads bobbed through the trees in front of us; lots of people bailing for fear of more storms. Pity, it was a beautiful day. We got to the Ladder, a V2 with an awkward start, and found Jimmy Webb and Dave Graham doing warm up laps.

The crew headed over to the Dali Boulder where several people try the Dali Sit Start, V9.

Rob D on the Dali SS

Dave, Jimmy and Rob started working on Ode to the Modern Man, a very hard V14 with powerful moves off tiny crimps. 

David Graham trying hard on Ode to the Modern Man V14

It’s a big move to a tiny crimper

Rob working on the top of Ode

 It was getting late, but instead of going back we head further into the valley toward Area B. Everyone was Psyched to get on Chris Schulte’s problem, 1%ER. The talus field is full of huge boulders you have to scramble over to get to the climbs, and there are some beautiful problems in Area B. Everywhere you look there is potential.  1%ER is further southwest down the valley than I’ve been before, and the boulders just keep going.

Area B’s talus field

Rob D trying 1%ER

 1%ER is on a short boulder, maybe 10ft tall, and starts out with a super hard compression move at full wingspan. Your left hand slaps up terrible slopers while you utilize heal and toe hooks. The problem culminates with a dyno to a good-ish jug that sends your feet flying out, making you almost horizontal.

All three try the moves, but Jimmy gets the pieces of the puzzle figured out.
Jimmy Webb practicing the final move on 1%ER

Jimmy Webb sticking the super hard first sequence on 1%ER

Dave Graham giving it a go 
Jimmy Webb swings wildly on his send and the 2nd ascent of  Chris Schulte’s 1%ER

Just after Jimmy gets the 2nd ascent of the V13 the skies open up and we run for cover in one of the nearby “caves”. We start the hike out when the rain slows, but it’s a long hike out in the rain and in the dark. We are thoroughly soaked and ready for a great burger.  Nonetheless, a great day at Mount Evans.

Waiting out the rain

Gear Review: Mad Rock’s New Performance Shoe, the M5

For years I’ve jammed, pushed, squeezed, and strained to get my rock climbing shoes on my feet. I lived by the mantra, “Tighter is better.” But then last year I ripped through the leather on the inside of my Muiras before I wore out the rubber! I was tired of my feet always hurting, so I bought a pair of general use Scarpas that were comfortable enough I could wear them most of the day without my feet rejecting them like a foreign pathogen. For a year I climbed, and climbed well, in them. I thought, maybe, all this hoopla about super tight climbing shoes was bologna. If I can climb 5.12 in comfortable shoes with no real noticeable difference in performance, then why put ourselves through all this suffering? 
This summer I’ve been shooting photography with incredibly strong boulderers that make climbing v15 look easier than me climbing v6 (I don’t really enjoy bouldering), so I’d usually throw my climbing shoes in my backpack and put in a few tries on nearby V-easies while the real climbers rested. I found, with increasing certainty, my shoes were holding me back from pushing harder on boulders’ precise and powerful movement. I didn’t want to believe it at first. I just generally threw it under the excuse, “I suck at bouldering,” which isn’t far from the truth.
Madrock M5
Madrock M5
Like many people, my first pair of climbing shoes were Mad Rocks, and I beat them up in a hurry. I’ve had a few pairs here and there since then, including the Demons, which I loved.
When I first pried the M5 onto my feet they were beyond tight, extremely hard to cram my foot into, but my feet found their customary position with the toes curled against the rand and my heal slid into place. I often joke about “The Shoe Crux”, struggling and putting more effort into getting your shoes on than you actually exert on the climb. The M5 definitely gave me a shoe crux to start, but now, 3 weeks later they slide right on. 
Precision. Above all, that is what I think when I’m wearing the M5. My footwork is way more precise. I know I can toe down on the tiniest nub and the Mad Rock rubber is going to stick. I have way more confidence in my feet. After a year of guessing, I feel like I can really work on my feet again. And I can boulder (whether or not I want to is another story). 
The fit is not as natural as the Demon’s, but it heal hooks with confidence and your curled toes give you the power to push off of the tiniest chip. Basically, it climbs hard.
Move the Pull-On straps!
I really only have two complaints on the shoe. The pull on straps are awkwardly placed so when you’re pulling hard the shoe flexes and makes it harder to get the shoe the rest of the way on. If the both straps were moved over just a bit it would ease the shoe on so much easier. 
Velcro needs a tab
Velcro needs a tab
Because the velcro extends beyond the rubber backing it makes it unnecessarily frustrating to undo the velcro straps. If the rubber backing went past the velcro or if the velcro strap were looped and sewn at the end it would solve this problem. 
Overall, I really like these shoes and I’m excited they  have stretched just enough to make it standable to have them on my feet longer than 2 seconds after my climb. 
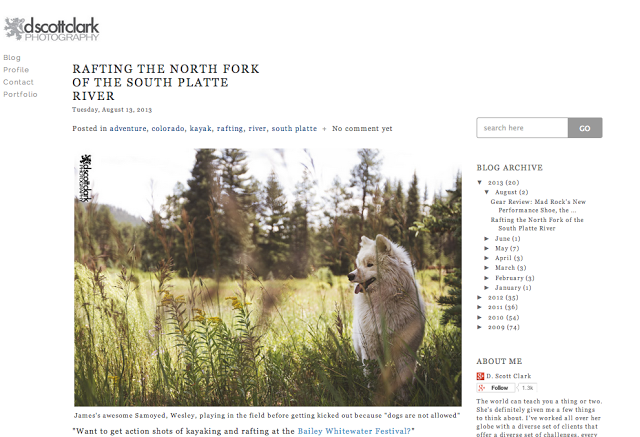
Rafting the North Fork of the South Platte River

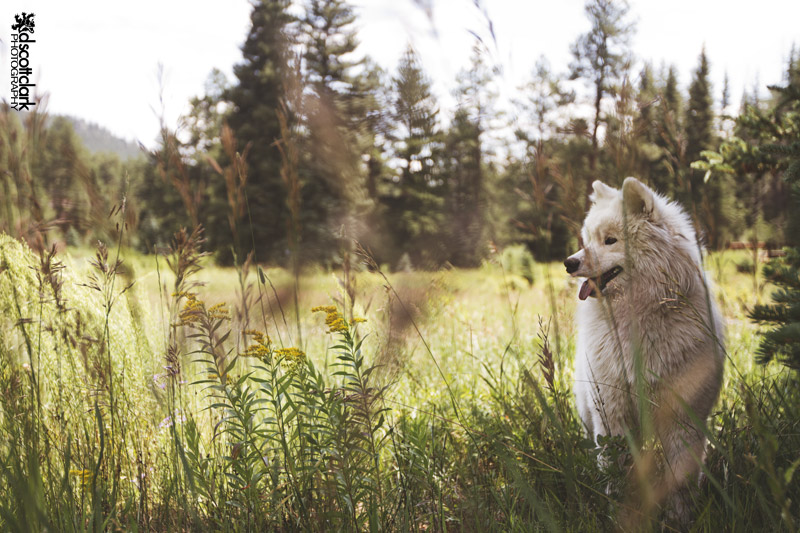
James’s awesome Samoyed, Wesley, playing in the field before getting kicked out because “dogs are not allowed” 
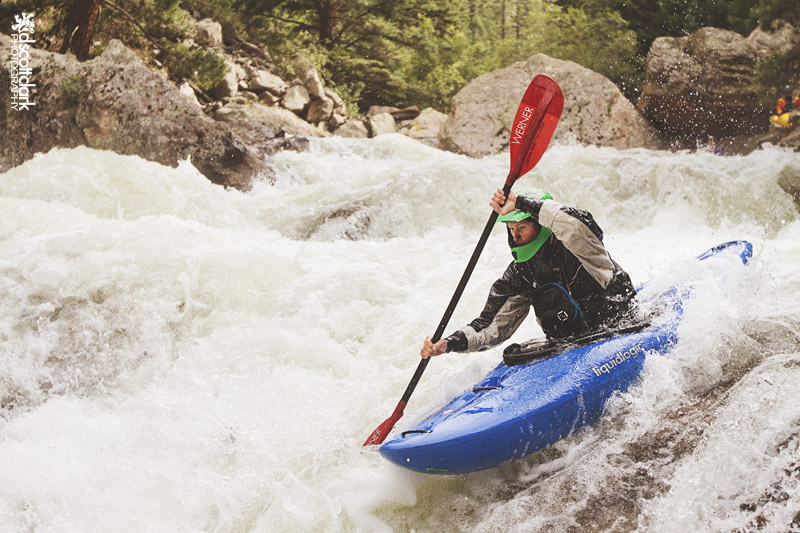
“Want to get action shots of kayaking and rafting at the Bailey Whitewater Festival?

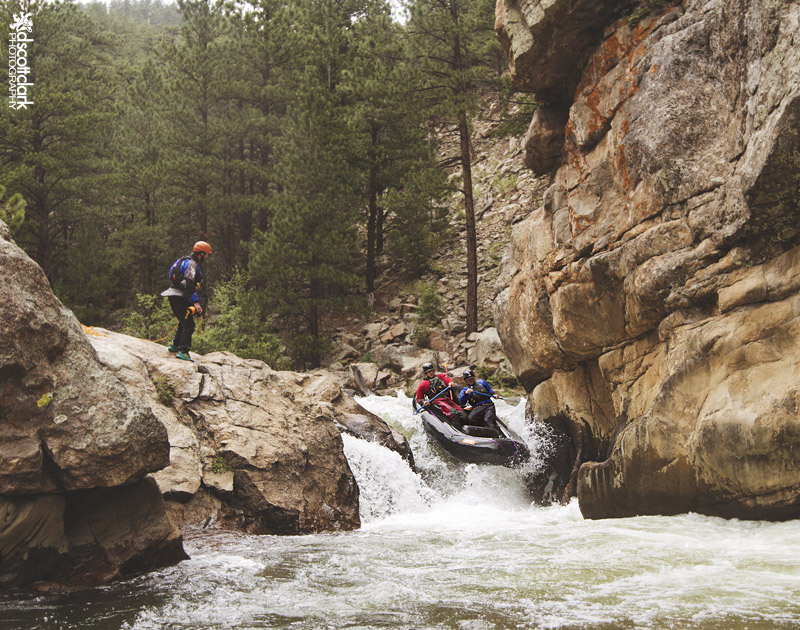
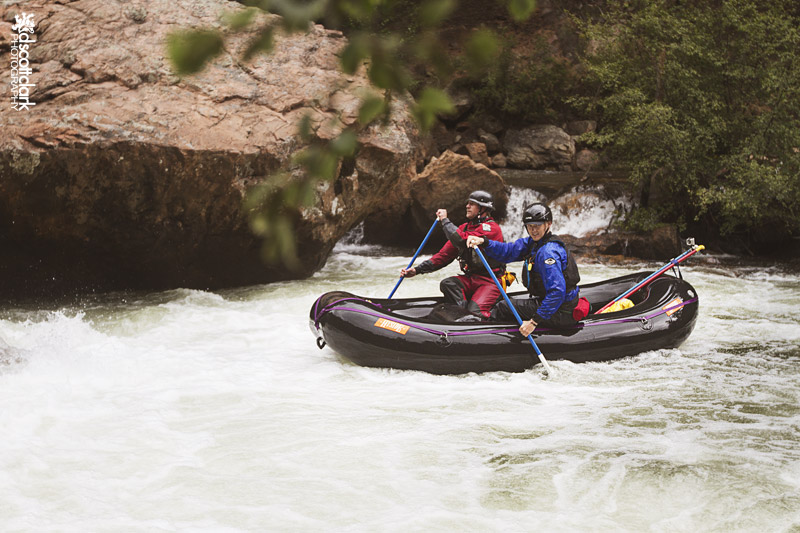
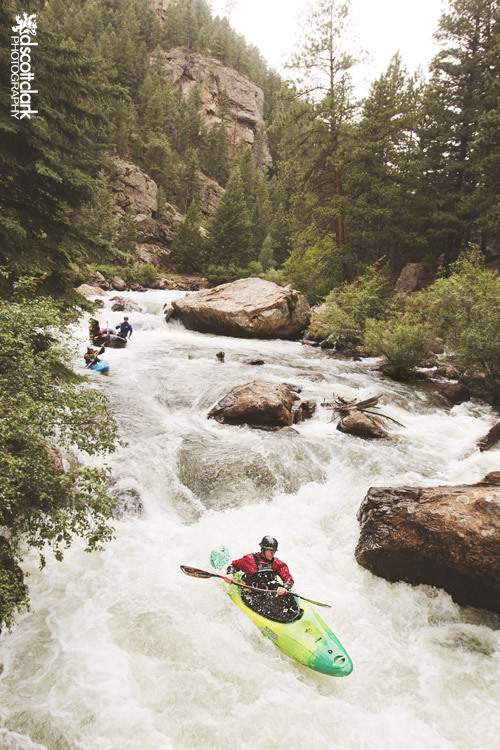
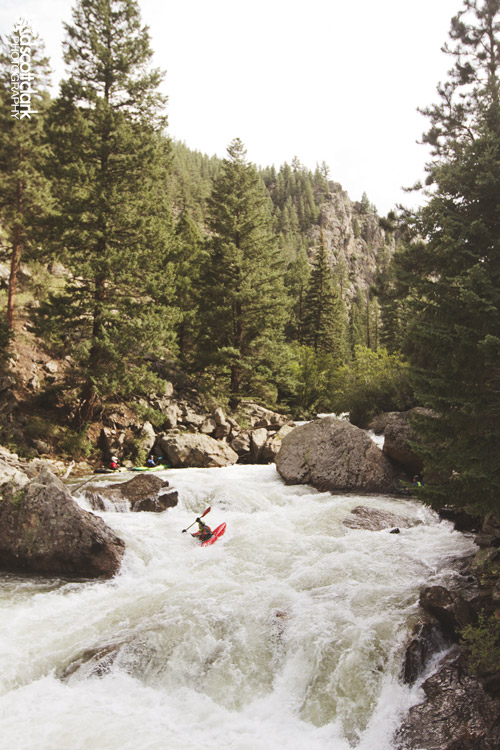
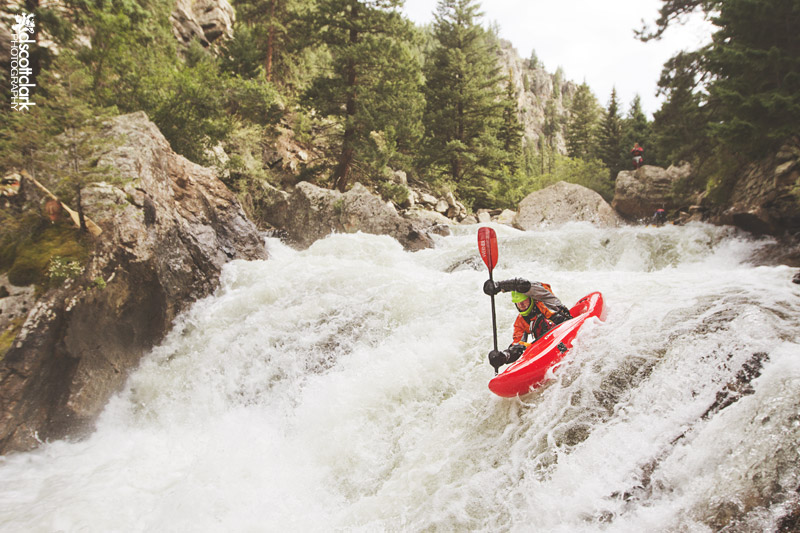
I tend to jump at this kind of invitation, this time coming from my former roommate, James Sims. Based out of Aspen, James has been strategically rafting every major rapid in Colorado this summer in his small HYSIDE raft. He’d recently told me about taking the raft down the North Fork of the South Platte river, doing some first descents in a raft.
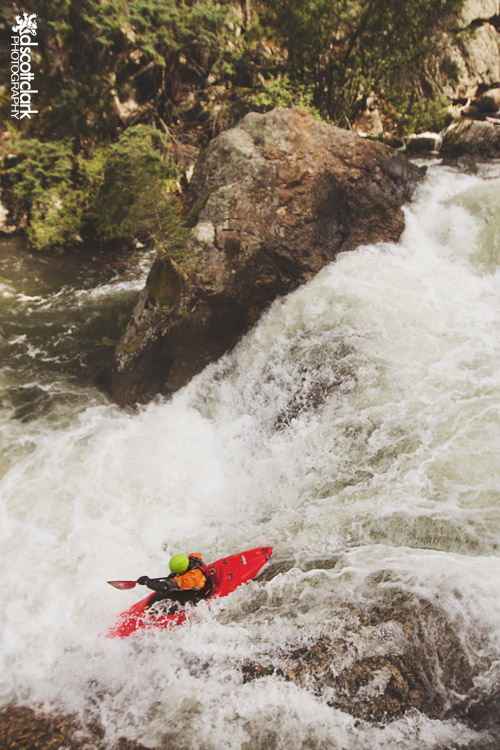
The only other place I’ve shot whitewater sports before is the Vail Mountain Games, where kayakers and rafters do the same section of river repeatedly and I can shoot comfortably from the sidelines. When I pull up next to James’s 4Runner and the campsite in the field of tall grass, he throws me a life vest and dry pants. I think, “well I’m unprepared for this.” I didn’t bring anything of use except my camera, and well, nothing to keep my camera protected.  James gets me two dry bags to double bag my camera in and we go to meet his cousin Jake who will be in the raft with us and a couple kayakers that are going to be floating with us.

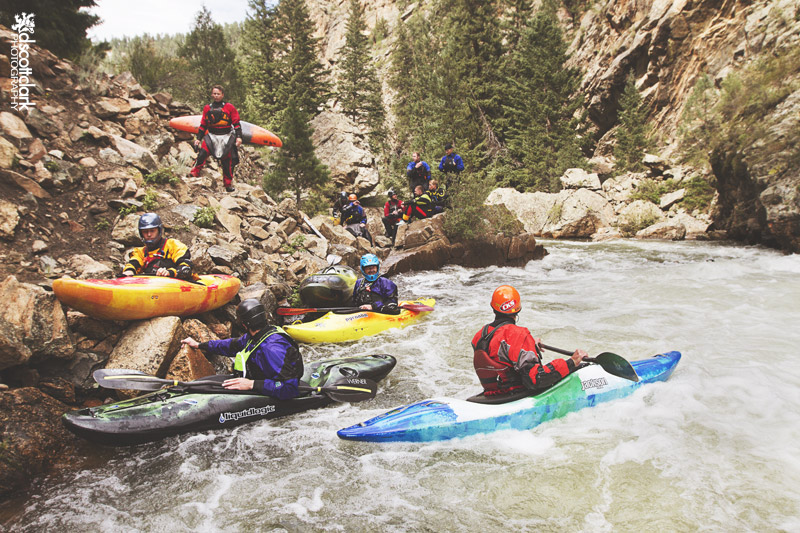
We put into the South Platte just outside of the small village of Bailey. The river is pretty calm, but we practice some maneuvering skills till we reach the campsite where we pick up several more kayakers. I’ve rafted a quite a few rivers around the world, but the last being in 2008. I’m comfortable in a raft, but I was a bit rusty.

We reach First Falls and we all get out to take a look at the falls. James and Jake plan on getting the first descent of it in a raft. The river narrows to one point and drops a good 6 to 8 feet. The landing zone is particularly scary because of blades of rock that extend towards you as you come over the falls.

James and Jake drop First Falls with relative ease, but everyone was nervous.

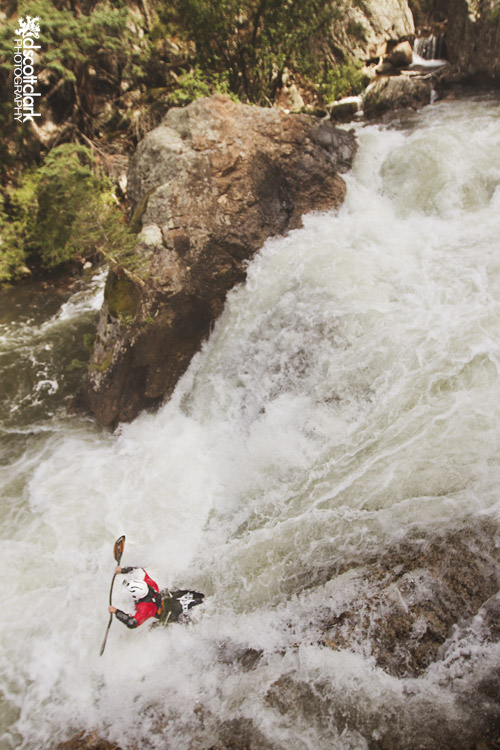
Peter flying off of Falls Three in Four Falls

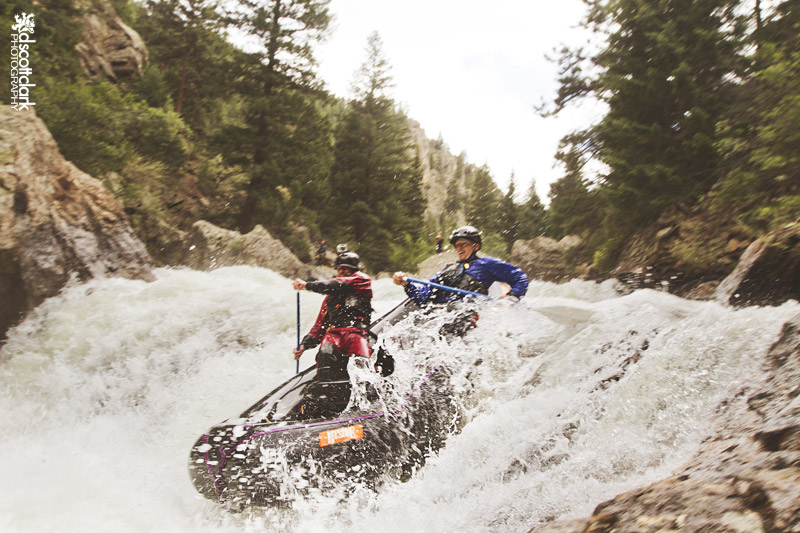
James & Jake after Third Falls

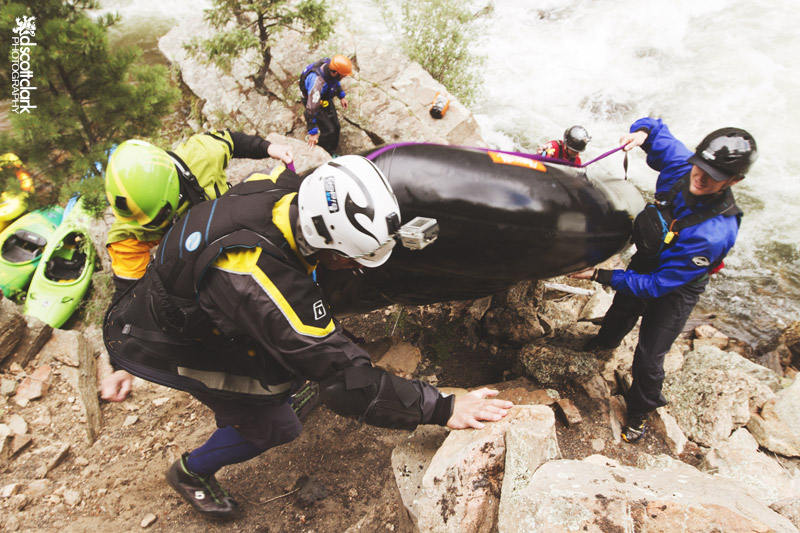
Jake takes Peter’s Kayak and Peter runs Four Falls with James

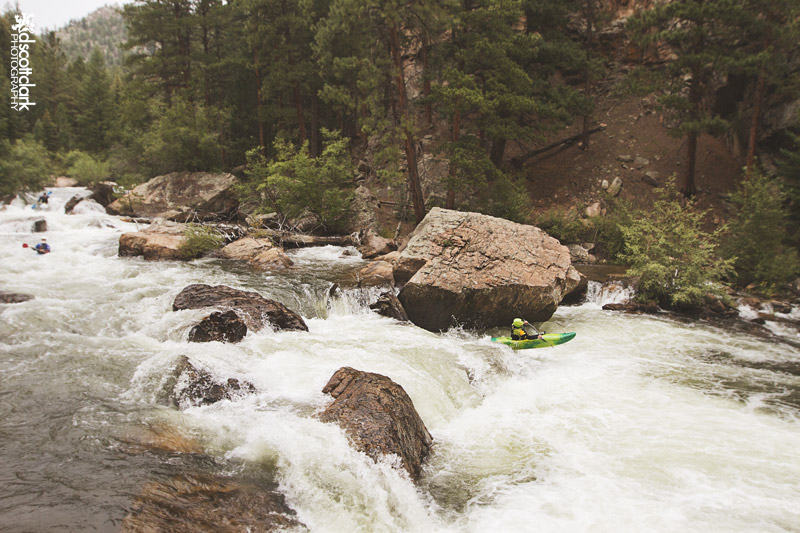
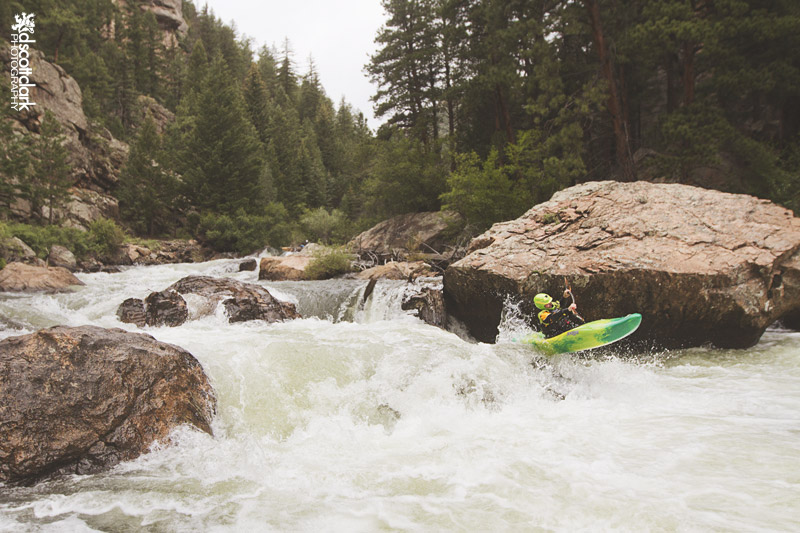
I rejoin James and Jake in the raft after Four Falls and head down the river. We hit a few rapids, and come close to falling in the drink a few times and reach SuperMax, an impressive rapid with some technical maneuvers. I watch several kayakers go for swims. One kayaker traveled almost the entire rapid under the water, only coming up enough to catch a breath of air. Every attempt at rolling over failed. Another kayaker went bottoms up and only corrected the last moment before hitting the rocky cliff leading into the final falls. He slid the kayak onto the rock then down the cliff, missing the falls all together.

Our jolly bunch

James and Jake dropping the last falls on SuperMax 

An advantage of having a small raft is it’s easy to pull it out and run the rapid again. The little raft ran SuperMax (or Tampax if you skip the first bit) four times

It’s nice handing the camera off to someone and getting into the action myself. 

Professional Stackers

It was a fantastic and unexpected day. I’m definitely psyched to get out and play some more, hopefully I would come slightly more prepared next time.

Getting Out with Jon Cardwell & Matty Hong

This weekend I got out Jon Cardwell & Matty Hong for some climbs in Rocky Mountain National Park and Guanella Pass. They both worked Mirror Reality and Paint it Black in RMNP and Ice Knife in Guanella Pass. While they were both working hard on V14’s and 15’s I sent my first V6! I was psyched.
Enjoy the photos. 
Matty Hong on Mirror Reality
Jon Cardwell trying hard on Mirror Reality V14
Cardwell on Paint it Black 8c

Matty Hong trying Paint it Black
Matty working the moves on Ice Knife V15
Jon working Ice Knife V15

Gear Review: Marmot Silverton Gore-Tex Pro Shell

I know, spring has sprung, but I’m just trying to get caught up on my blog posts. I have a ways to go.

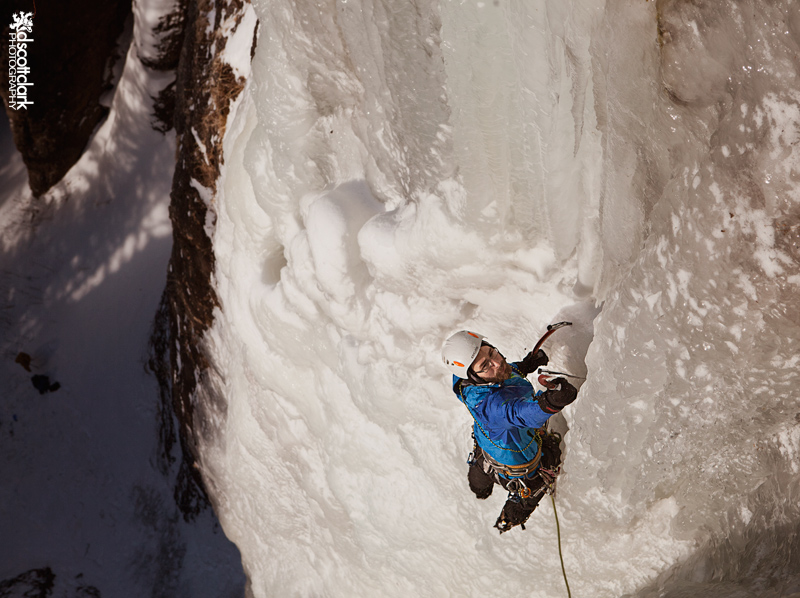
I started ice climbing last year and fell in love with it. I didn’t get out nearly enough this year, but I got a few times in early in the season. I went to Vail with Kevin Kelly and Matt Lloyd last december and climbed East Vail Falls.

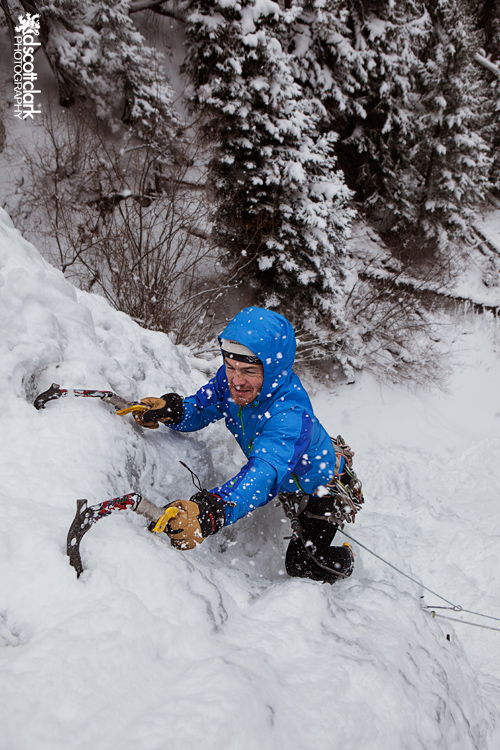
The Scotsman himself, Kevin Kelly hacking away, rocking my Marmot Silverton Goretex Pro Shell

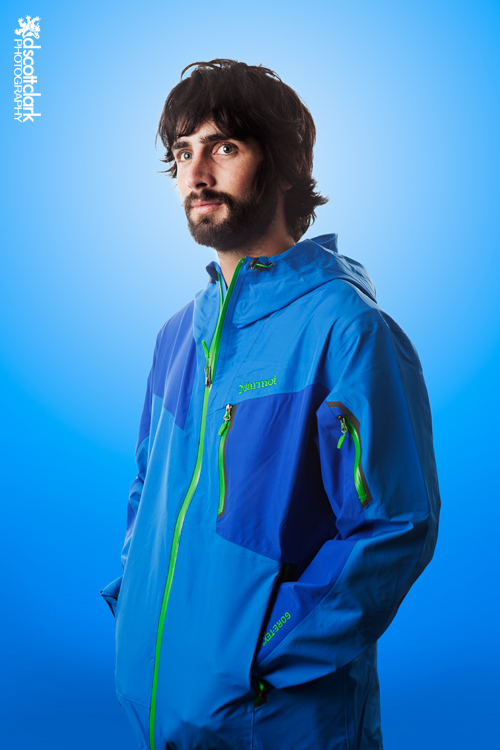
I bought the Marmot Silverton Gore-Tex Pro Shell as my main ski and ice climbing jacket this year and it performed wonderfully. I gave up an insulated shell and layered up much more this season. On most in-bounds skiing days a base-layer, a puff, and the Silverton were more than enough to keep me warm. On the coldest of days I’d add another midlayer and be fine. I never felt too swampy in the jacket, the Gore-Tex letting the heat vapors pass through. The waterproof zippers can be hard to pull sometimes with gloves on, but overall not a big deal. The pockets are well placed and HUGE. The removable powder skirt was useful on the rare powder day in Colorado this year. 

There were many times that I was incredibly thankful I was wearing this jacket this season. One such example was in Hyalite Canyon, Montana on Slight of Hand (Near Emerald Lake). Even though it was well below freezing the waterfall on Slight of Hand was splashing all over the route. By the end of the route my glasses, beard, and most everything else were covered in icicles, but because the Gore-Tex Pro did it’s job my body was bone dry.
Getting into it on Sleight of Hand (WI4) in Hyalite Canyon, Montana. 
 I saw online when I ordered that the jacket fits tight and you should order a larger size than normal. I found the Medium baggier on me than I like and wished I’d gotten the small. But bigger does mean you can layer much more, which might come in handy this summer in Peru. Overall, I love the Silverton. It’s been a fantastic jacket, and I know it will be with me for seasons to come. 
And another gratuitous ice climbing photo of Matt Lloyd on East Vail Falls. 
Matt Lloyd soloing up the curtain.

Gear Reviews: Adidas Terrex Fast R Mid GTX & Swift Solo

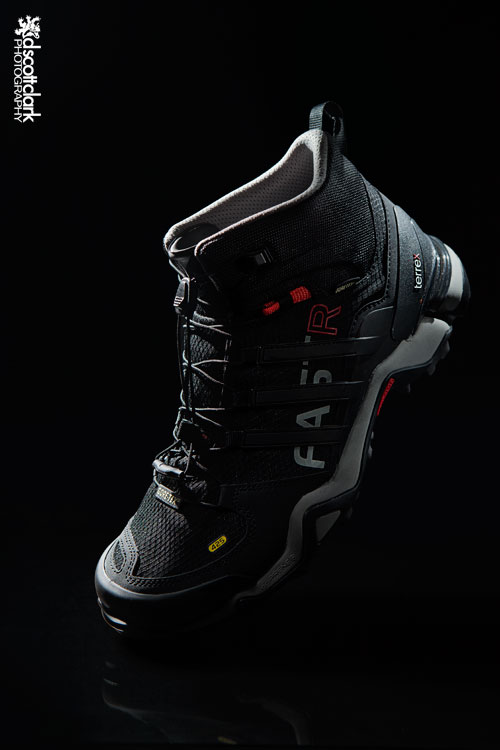
I’ve been wearing the Adidas Terrex Fast R GTX‘s for most of my adventuring lately and I love them. They’re light weight but stable, have incredible traction, and edge decently well for a non-approach shoe. I feel much more stable on steep terrain than in my old Keens. They use the Continental Tire Rubber which feels very stable in most conditions.

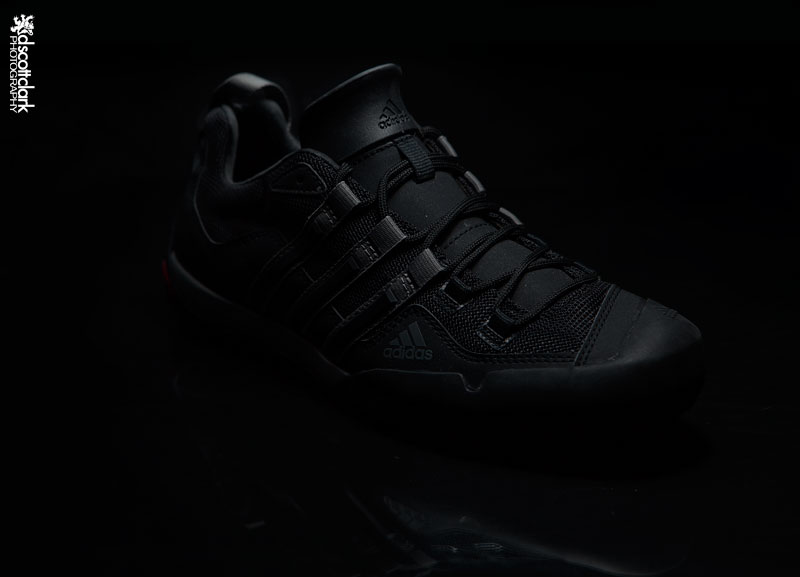
Low Key product photo of Adidas Terrex Swift Solo shoe. 

Also the Adidas Terrex Swift Solo approach shoe has been a nice addition. I’ve worn them while climbing 5.10’s and they’re comfortable around town. A bit lighter than the Scarpa’s and quite a bit more attractive, I think. I grab them for many different occasions.

Product Photography: Multi-light Look with Only One Light

When I get new gear for whatever reason I want to shoot it before I dirty it up. I recently got some shoes from Scarpa for a spec shoot and some shoes from Adidas Terrex. Before destroying them I set up my home studio and went to work.

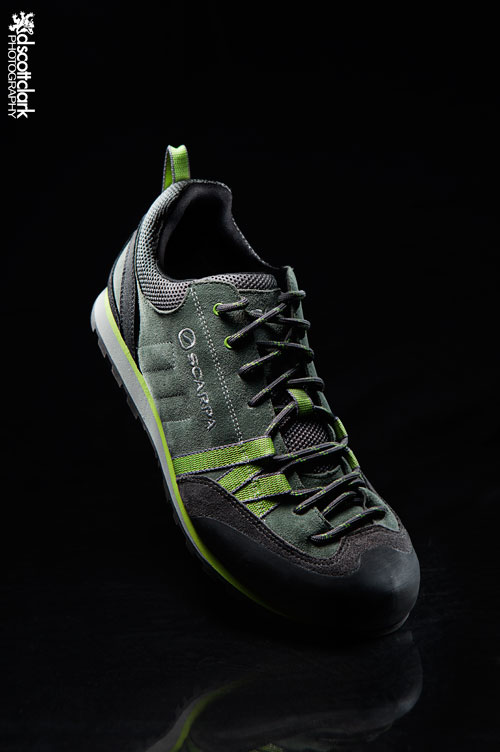
I started off with the Scarpa Crux approach shoe. It’s a sturdy shoe with good Vibram rubber. It is quite comfortable, but I haven’t taken it out on any long approaches yet.

Using a piece of glass under your subject adds a bit of interest to a product photo, but as with anything, don’t over do it. In this case I used a piece of glass from a broken 16×20 frame. Taping the edges helps it not cut things and you, and I think makes it a bit sturdier. 

I employed a method of lighting using only one light but giving off the appearance of a complex multi-light setup. Put your camera on a STURDY tripod and use and cable release so you do not bump your camera during the process. For this to work you camera has to stay completely still.

I use a LumiQuest SoftbBox LTp with my Speedlite 580EXII on a wireless slave as my one light. It’s 10″x14″, giving you over 40x the surface area of a Speedlite. Interpretation: it gives you much softer light. With the Speedlite on a wireless slave I can move around my subject freely without bumping the camera position. I take multiple shots with the light in every possible different position.

Next step: Photoshop! In Photoshop open all the different versions of the image that you think you’ll use. Pick one to be the base image then drag all the other photos on to your chosen “base”. Holding Command + Shift while doing this will align all of your images. Create inverted layer masks on all but the base layer and begin “painting” in the light that you want. Presto: Magical Multi-Light image.

Lighting a Cave & Problem Solving

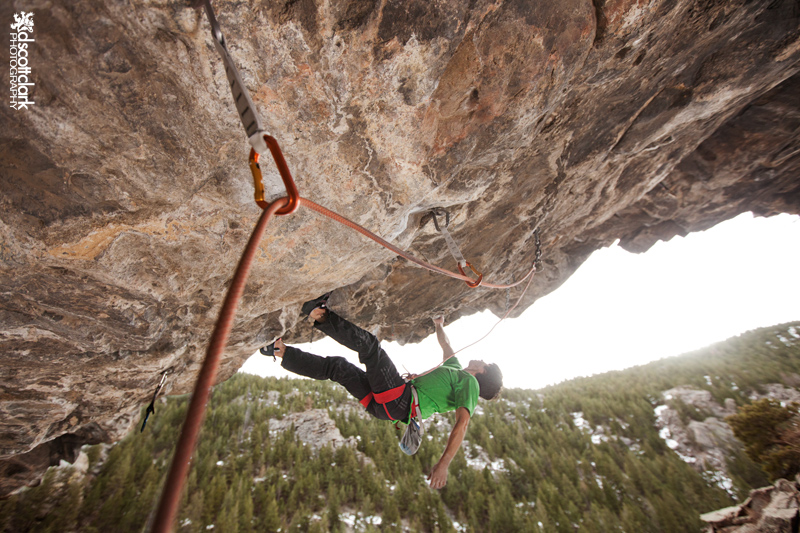
A few weeks ago Jon Cardwell asked me to come out and shoot with him and Chelsea Rude for a project.

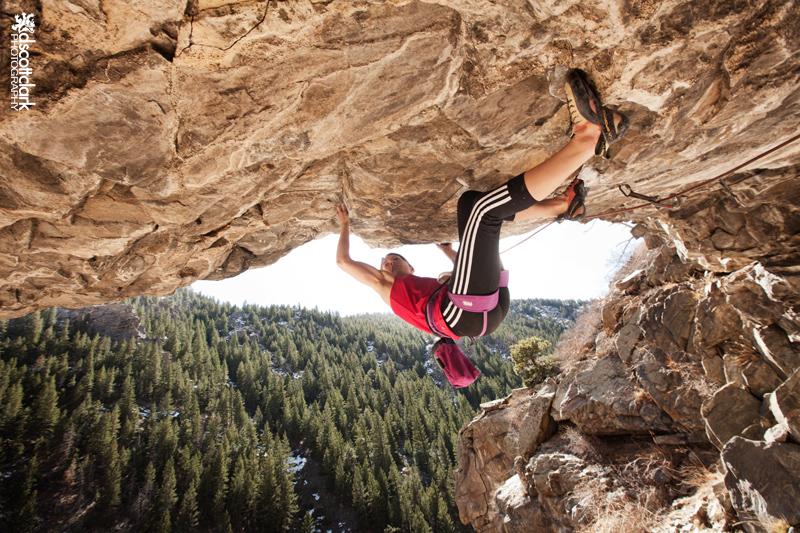
Chelsea Rude climbing Rubble (5.13b)
We went back to Sex Cave in Clear Creek Canyon to get some shots of them sport climbing. It was an ideal location because of the easy access from the road and the ability to shoot from the ground. I hadbroken my back a few weeks before and could not hang from a rope. 
With the help of my girlfriend I set up my lights how I wanted them and prepared to shoot, but I realized I was missing something. I had forgotten to pack the connector wires for the radio slaves. My studio strobes could not be fired remotely, well directly from the slaves. So I quickly figured out a solution. 
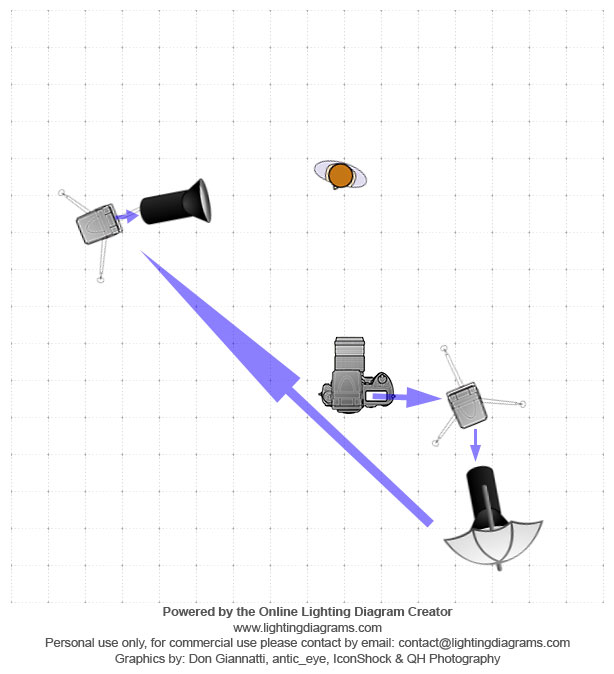
I would have just used my Canon Flashes, but they are not powerful enough to get the results I wanted. I connected my Pixel King radio slave to my flash and used the built in optical slave on my White-Lightning strobe to fire into an umbrella that broadly lit the underside of the cave. The spill light from the umbrella hit the optical sensor on my Yongnua YN-560 flash, firing it into the back of my other White-Lightning strobe, giving me the rim light I wanted. It was super complicated and tricky to enact, but the diagram below might help you visual types. 
The diagram is, of course, inexact, but it give you the idea. Using optical slaves to pop your lights remotely is a great, fast and easy approach to lighting. A lot of times in my studio I will just use a speedlite set to 1/128th power to pop all the lights in my set up. But in a less controlled environment using wireless slaves gives you much more control. 

Jon Cardwell on Rubble

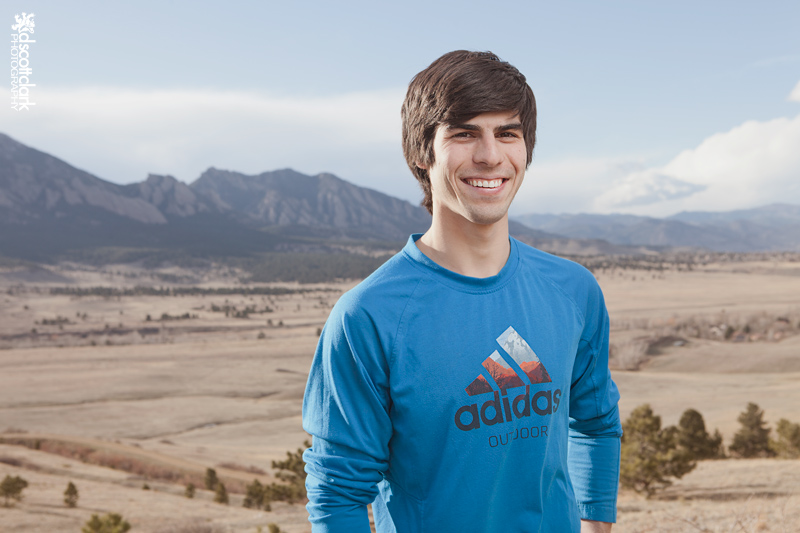
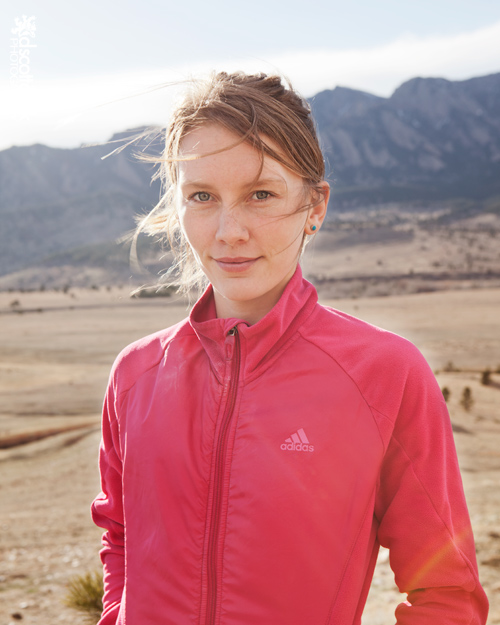
After the climbing we used the great afternoon light over the Flatirons to shoot a few portraits using just one Speedlite in an umbrella and the sun as rim light. 

I don’t recommend leaving behind pieces of equipment you need. I definitely need to be better at double checking my gear. 
Till next time, 

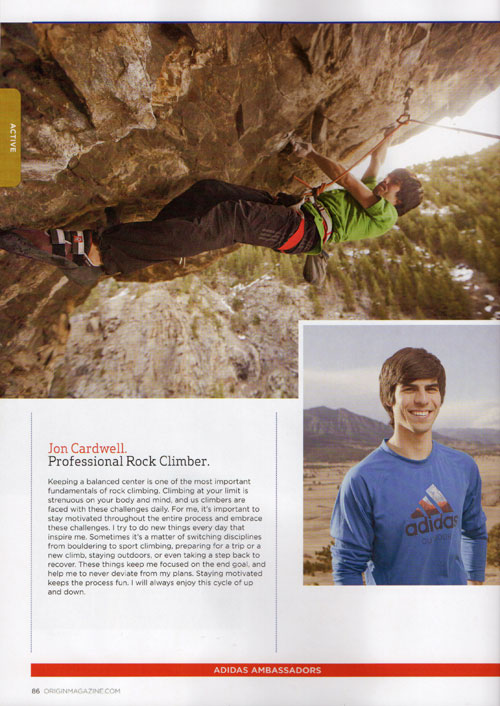
Published in Origin. Magazine

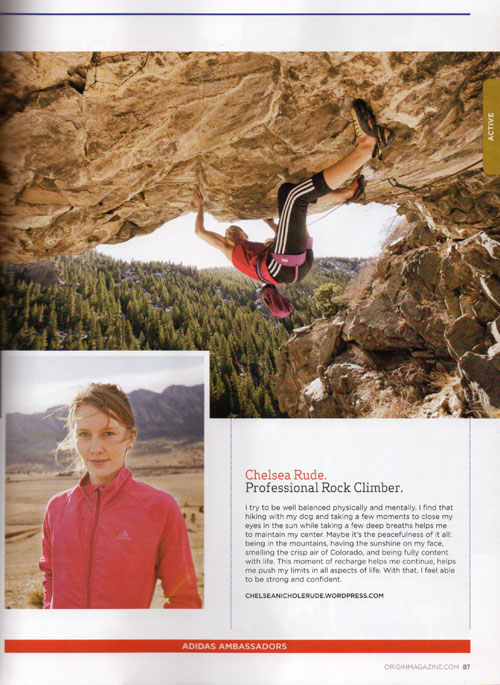
I just picked up my copy of Origin. Magazine at Whole Foods (the only place it sells) that has photos I took of Jon Cardwell and Chelsea Rude a few weeks ago. 
It has two covers…

Jon Cardwell climbing Rubble in Clear Creek Canyon & portrait in front of the FlatIrons. 

Chelsea Rude climbing Stone Cold Modern in Clear Creek Canyon & portrait in front of the FlatIrons. 

Camera Giveaway! Canon 5D MKIII or Nikon D800

The wedding photography directory SnapKnot is giving away either a Canon 5DMKIII or a Nikon D800 to a lucky someone! I’ve been eyeing the MD MKIII (3)for a while because it fixes several of the issues I have with the MKII(2), namely the autofocus. The MKII’s terrible autofocus has been killing me on trail running and skiing shoots. It, for a long time, hasn’t been an issue with shooting climbing because it’s mostly slow paced. But when you’re having to track moving subjects it’s pretty piss-poor. The nine-point autofocus is almost no improvement over my 7 year old 20D! The MKIII(3) has a 61-point High Density Reticular autofocus that is lightyears ahead. My only initial complaint about it, having not tried it out, is that the autofocus points do not extend far enough to the edge which is where most of my subjects tend to be.

But anyway…enough rambling.  Big thanks to the SnapKnot wedding photography directory for offering this great camera giveaway! Click this link to take you to the giveaway.  

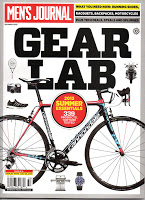
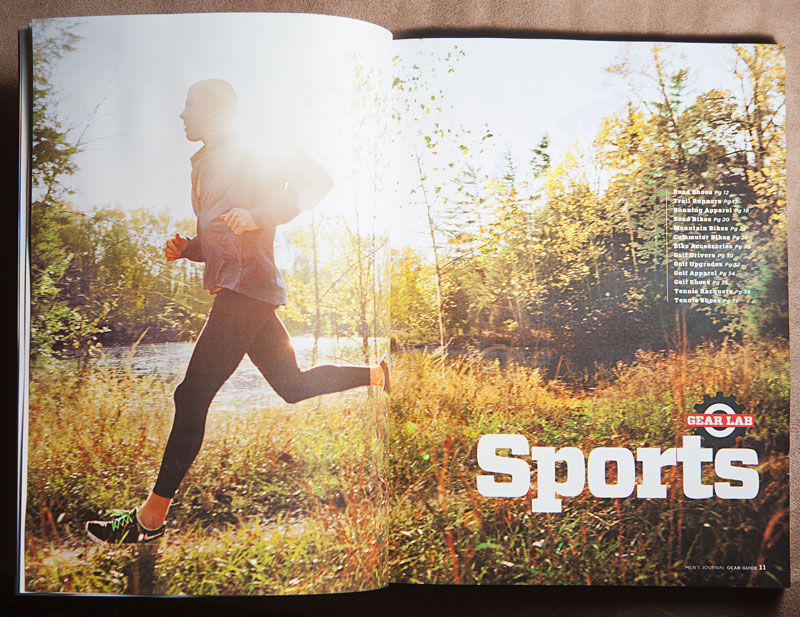
Photograph featured in Summer 2013 Men’s Journal Issue!

I got a text from my friend Broderick yesterday morning. “Men’s Journal? nice work!”

I was very confused. I’ve never submitted anything to Men’s Journal. Then I took a look at my Tandem Stock site. There were a couple of pending payments. I wrote to Tandem and they said, indeed Men’s Journal had purchased this image for use. I went to the store and picked up the magazine. There it was, Page 11! It’s a nice spread. I’m psyched to have my shot in such a high profile magazine, but it would have been nice to know that was happening.

 Thanks to Broderick for going shooting with me a couple of years ago.