Pajar Icepick Women’s Waterproof Snow Boot

Boulder just got one of our spring snow storms where it snows a fair amount and it’s completely gone the next day. Melissa had recently bought a pair of Pajar Icepicks and I wanted to shoot them. I didn’t want a static studio shot, so I took her out into Boulder Canyon and Nederland to shoot some product lifestyle. We confirmed that they boots are, in fact, waterproof.


Canon 85mm f/1.8 on Canon 5DMKIII, mostly at 1.8. 

Gear Review: Black Diamond Convert Touring Skis

I sold my AT skis before I was ready, and RIGHT in the middle of powder season. Huge mistake. But, on the flipside, I was tired of skiing uphill with lead weights on my feet and turning huge powder boards on so-so snow.

When I buy gear, or anything really, I tend to do a lot of research. I’d been looking at the Black Diamond Convert for a while and had only seen glowing reviews. Coming in at just over 7lbs for the pair and combined with Dynafit Radical FT, they feel ridiculously light weight in comparison.

Radical FT tech binding. Photo from the Dynafit website. 

My old set up topped the scales at almost 25lbs including skis, boots, and bindings! That’s 12.5 extra pounds for every step you take. Simply too much.

I missed a couple weeks of great snow in the meantime.

Seventeen Pounds. Dynafit boots & bindings & BD Skis come in at 17lbs, a savings of 4lbs per foot per step, which is incredibly significant!

I took my new skis for test drive a Keystone Resort on a mediocre snow day. The groomers were fast, the moguls soft, but the trees were less than ideal. I was nervous using my tech bindings, two metal pins that somehow hold your boot in while you’re screaming down the mountain. I had had issues with being ejected once before on a pair of demo skis, but I had no such problems on this day.

They RIP!!! I had a blast carving at full speed on the groomers. I attacked moguls harder and faster than I ever have before, I think due to how light they are I can really throw them around. There were times when I thought I had lost a ski when I lift my foot only to see it fully connected with no hint of coming off. It was so light I just barely felt it. Honestly, I was psyched, except my first time in my boots, as with first time in any ski boot, was extremely painful (After 4 days in them they are MUCH better).

I went on a tour up to Hallitt’s Peak the next weekend. Holy Amazeballs! Going up is so easy! The Mercury boots walk so incredibly well, each stride almost twice as long as in my Salomon boots. With the tech binding you’re not lifting the back of the binding with every step, which saves a ton of energy. And everything is just so much lighter. Heaven.

By the way, Emerald Lake and Hallitt’s Peak are beautiful. 

On a warm day we skied the line between Dragon’s Tail Coulouir and Dead Elk Coulouir, mostly because of the avy danger. The Converts cut through the crud and bounced in the warm, springish slush. 
The Convert’s dimensions I have deemed to be about perfect. 105mm underfoot, 133mm in the tip and 117mm in the tail. Fat enough for most powder days, the tip floats, the tail sinks and you just enjoy the smile inducing powdery ride. 
ME! Getting some airtime on a cornice at the closed ski resort Hidden Valley in Rocky Mountain National Park

Gear Reviews: Adidas Terrex Fast R Mid GTX – UPDATE!

I originally posted about this shoe back in May without reviewing it thoroughly. The Adidas Terrex Fast R Mid GTX has been my main hiker, adventure approach shoe, and by default, because it is my only GoreTex shoe, my winter/snow boot. I have worn it for a lot of short days, as an approach shoe in Colorado, where approaches to climbs generally take less than 30 minutes. I use it when running around in the snowy streets of Boulder and when going to ski in the mountains. But I hadn’t really used it for it’s main purpose, hiking, until recently.

Side note: I generally don’t like hiking just to hike. I want to be going somewhere. I want to hike to climb, hike to ski, hike to swim in some freezing cold alpine lake. Going hiking for…exercise? I can think of plenty of exercises I would rather do.

One thing that I appreciate about my family is that they’re all active. When we get together for a holiday we never just sit in someone’s house and watch TV. We go hiking or on bike rides. For New Years this year my family went to Reno to my oldest sister’s new place. There is quite a bit of hiking around Reno & Lake Tahoe. There was too little snow for good skiing, and even for snowshoeing. We hiked, everyday, a lot, in many different conditions.

In the week spanning the New Year I put a lot of miles on my Fast R’s. And I’ve never appreciated them more. When I first got them they were too narrow for my oddly shaped wide feet, but now they fit me like a glove, a testament to breaking in your boots. The traction grips on every type of terrain; the Continental Rubber sticky but strong, shows no signs of wear. Walking on uneven ground, aka every trail, your steps feel controlled. I didn’t know about the separated heel that helps to stabilize you on descents until I was looking up reviews of the women’s version for my sister. I didn’t know about it, but it works!

The lacing system took some getting used to, but now that I have it figured out I love it. When I’m just slipping the boot on to go around town in the snow I leave it loose and it’s super comfortable. When I’m ready to get into the thicket I can quickly dial in the perfect fit. You pull the loop, cinch down the plastic tab, and tuck the string into an elastic catch. No boots coming untied, ever.

Whether I’m playing in snow, hiking through the mud, jumping across a creek, I’m never worried about my feet getting wet, and because of the build, the boot breathes incredibly well. Oh, and this boot is LIGHTWEIGHT! I even did some trail running and the mid-high boot didn’t bother me at all.

I’ve been very impressed and even helped get a pair for my sister.

Gear Review: Scarpa Crux Approach Shoe

I originally got the Scarpa Crux Approach Shoe for a lifestyle photoshoot with JJ Yosh in Eldorado State Park last spring, but they’ve turned into my go-to approach shoes. 
The Crux is incredibly comfortable and quite hardy. I really got my first chance to put them to the test in Peru this summer. I climbed the almost 20,000 foot peak, Alpamayo, in July. The approach from the trailhead is nearly 20 miles including 9,000ft of elevation gain. The great majority of steps were taken in these shoes, and I hardly noticed them (hardly a bad thing) until I put on my 6000m mountaineering boots. Then, I just wanted to have the Crux’s back on my feet. 
The footbed is comfortable the toe box is wide enough that my feet don’t feel squished at all (a problem I have with a lot of approach shoes). The laces, especially at the front of the shoe, allow a lot of control over the fit because of Kevlar reinforced webbing. The rubber is sticky and I feel secure on most rocks I smear up on the approach. Climbing 5.8 slab in them is slightly unnerving, but I didn’t slip once.
Coming off of Alpamayo I couldn’t wait to put on the Crux’s and for the hurried hike out, covering the 20 miles from the glacier camp back to the trail head in half a day, my feet only hurt because of my mountain boots.  Even after all of that wear these are still the approach shoe I grab when heading out the door, and after eight months of heavy use they are still holding together (in comparison to a lot of approach shoes I see that really fall apart). 
Check out some more of the shots from the lifestyle shoot with JJ. 

Gear Review: Dynastar Cham 97 – All Mountain Ski

The first pair of skis I ever bought myself were a pair of twin tipped fatty pow skis from Bluehouse. They were amazing; I’d never experienced a ski like it. That’s not saying a lot. Since I was three I grew up skiing on whatever hand-me-down came my way. I ripped on 195cm skinny skis from when I was tall enough to reach their tips. But, truly, these Bluehouse Maestro’s were FUN!! They were playful and responsive. They were great to jump on, fun to carve on groomers, and amazing in deep powder. I didn’t know it could get any better!

I did recognize one their weaknesses, but I had no idea of the extent: Crud. I got bounced around like a rag doll, precisely because of why I enjoyed them. They were too playful and couldn’t power through rough, choppy, end-of-the-day-on-a-Colorado-powder-day crud. Before last season I got a job selling skis at Boulder Ski Deals. Needless to say, I learned a LOT about skis I never knew before. I had never realized how soft my Maestro’s were until I compared to a lot of skis on the wall.

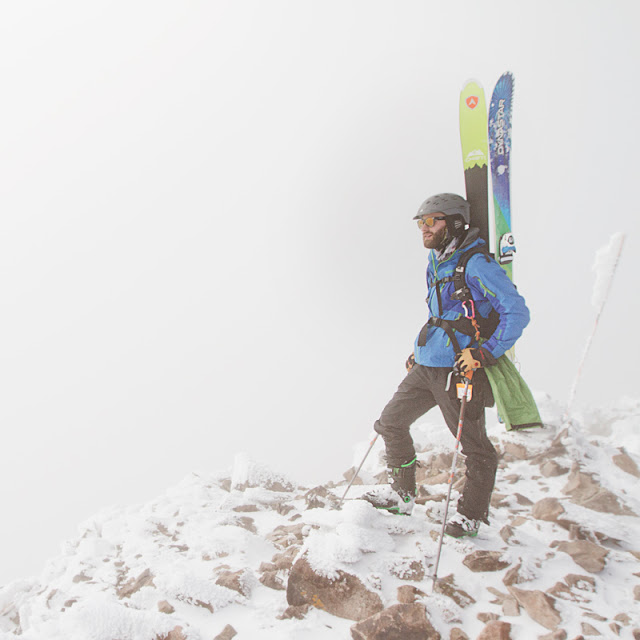
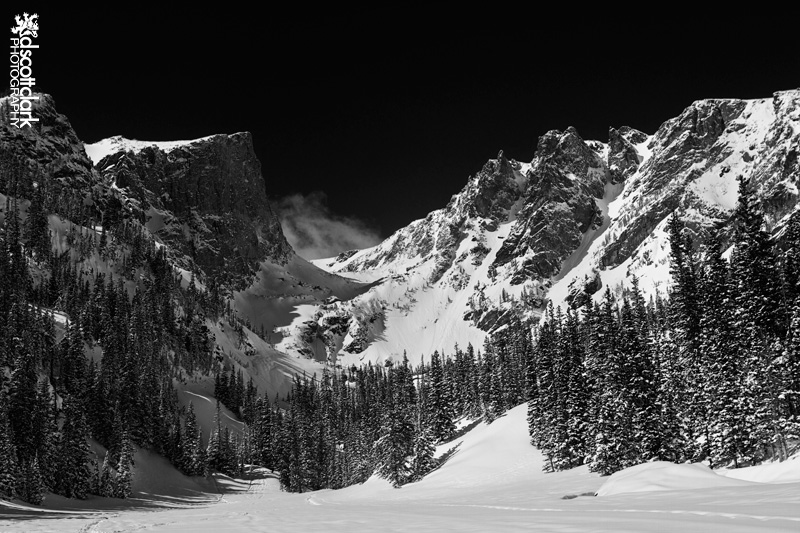
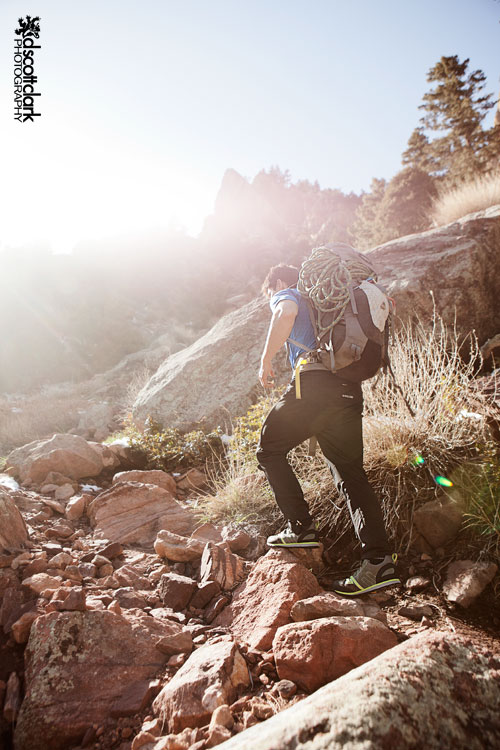
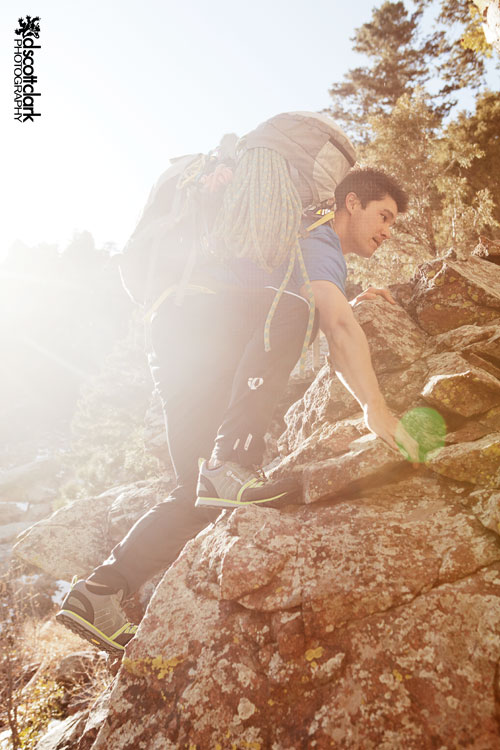
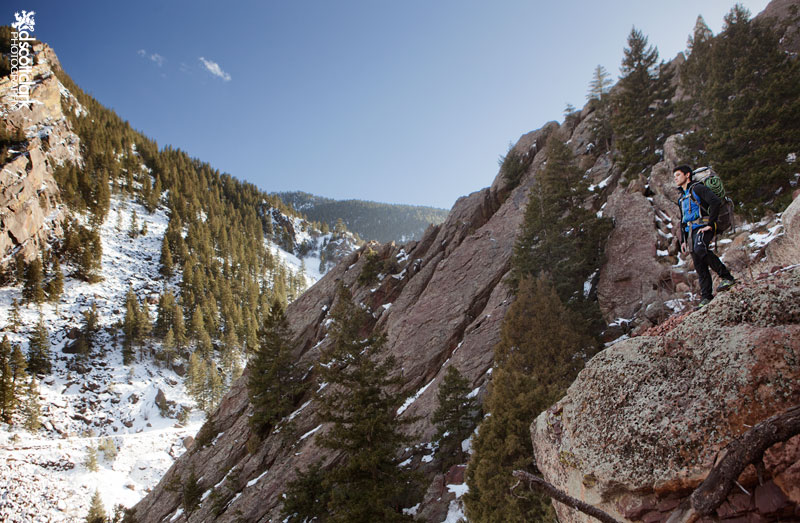
Hiking Alberta Peak at Wolf Creek Ski Area in Southern Colorado with my Cham 97’s on my back

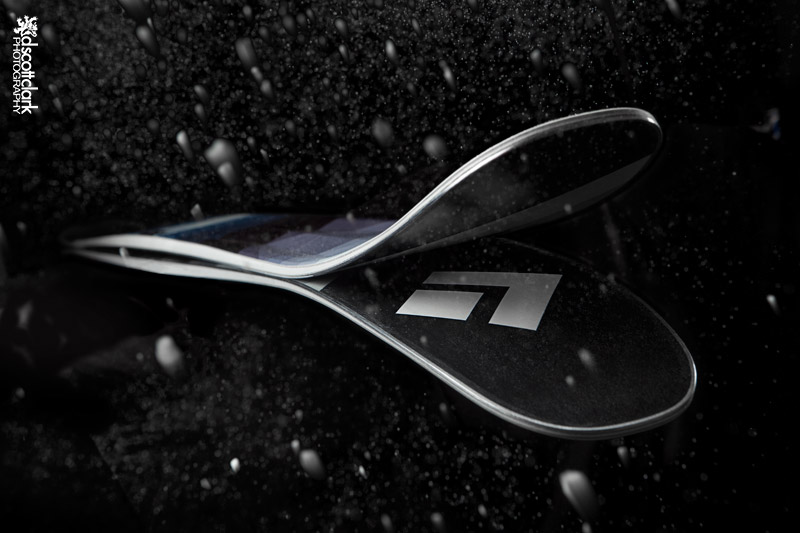
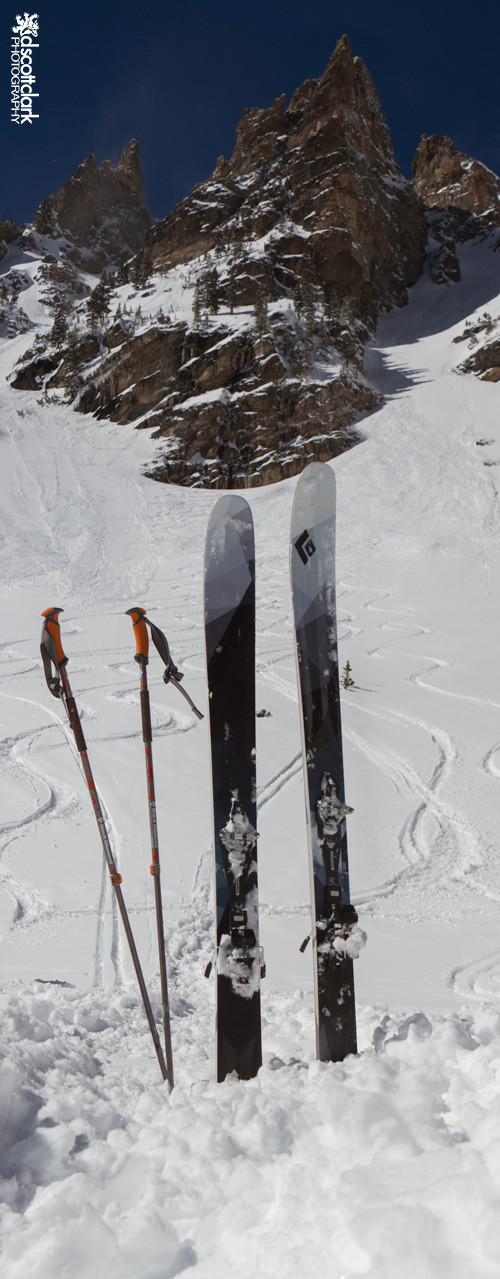
Dynastar’s Cham 97’s are completely different. They’re incredibly stiff skis, especially compared to my Maestro’s. These are crud blasters that won’t get bounced around by any amount of the rough stuff. They have a unique shape, with a large sidecut, fat tip with lots of rocker, and a flat pin-tail…tail. At 97mm in the waist, 133mm/113mm in the tip/tail and 16m turn radius, these things rip. (Sorry for all the tech talk)

With the 97mm waist and 16mm turn radius, the Cham’s are easy to rollover on groomers. I cannot overstate this, they LOVE to turn! You can make the turn anything you want, from long GS turns to quick slaloms. You’ll feel stable putting it up on edge. The rockered tip gives you easy turn initiation and grips along the full ski. Though, be warned. This is not a beginner’s ski.

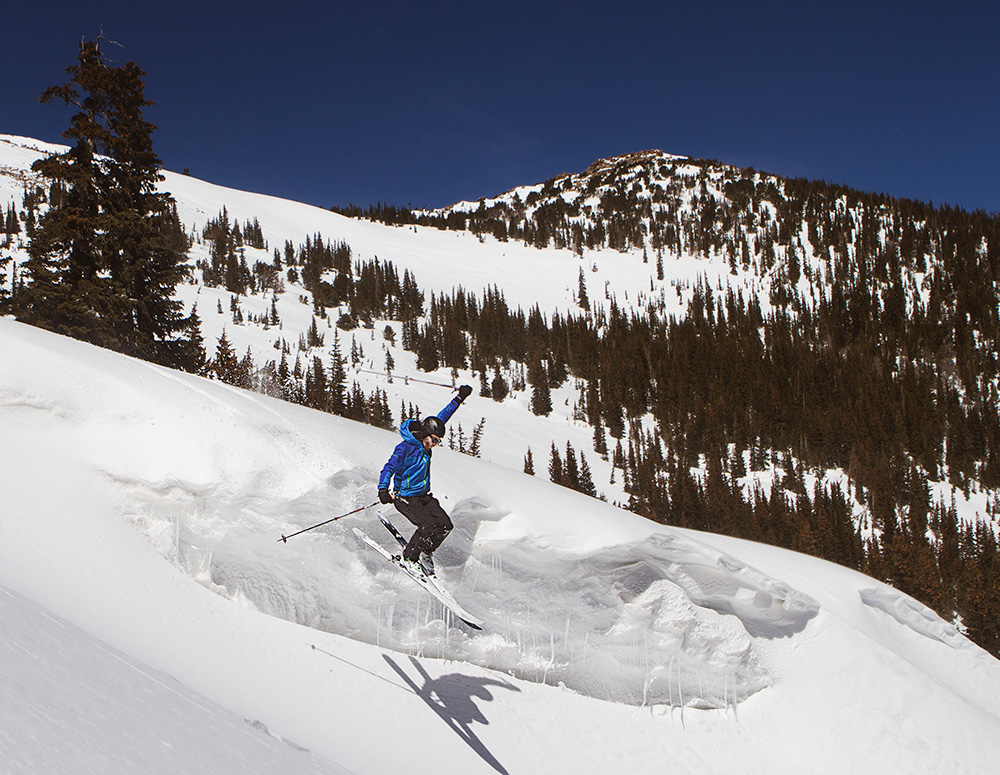
Where I’ve really found the Cham 97’s shine is in powder. I’ve never felt a ski handle like this in the deep stuff. If you were out with me when I discovered this you would have heard a lot of “THIS IS AMAZING!” and “WOO HOO!”‘s. The narrower pin-tail stays low in the snow, making it super easy to keep your tips pointed up in the powder, even with your weight more forward. The wide, rockered tips float effortlessly. Making turns in this position is incredibly easy; I felt like I was barely pushing the tails to make grand turns. Skiing the powder was…bouncy. It felt so light and easy to maneuver. In contrast, I always feel like I’m dragging my tails in my Maestro’s.

So, in other words, I love these skis; they are fantastic. But that does come with a caveat or two. Jumping can be uncomfortable. No, scratch that. Landing can be uncomfortable, especially on hardpack. Where the Maestro excels in being springy and playful, the Cham’s are stiff and unforgiving. The extent to which this matters depends on your skiing style and preference. Secondly, the Cham’s are heavy. Weighing in at over 10lbs for both skis, you will think twice about making these part of your backcountry set up. They do come in a High Mountain version that reduces the weight by 25% but sacrifices some of the inbounds performance (this only really matters if you plan on skiing them inbounds).

Not surprisingly, the Dynastar Cham 97 won Outside Magazine’s Gear of the Year award in 2013. If you like to charge, ski the entire mountain, and want a ski that can do it all, I highly recommend this one. 

Adidas Terrex Solo Approach Shoe

Adidas has been breaking into the outdoor adventure world with their Terrex brand, bringing on world class athletes like Jon Cardwell and Sasha DiGiulian to represent the brand. I have a pair of their
GoreTex hiking boot, which are great (and sticky). The Solo comes with the Traxion rubber, feels like a runner with a bit of a stiffer sole. You can trust Adidas to make a good, quality shoe. These are no exception. 

Gear Review: Mad Rock’s New Performance Shoe, the M5

For years I’ve jammed, pushed, squeezed, and strained to get my rock climbing shoes on my feet. I lived by the mantra, “Tighter is better.” But then last year I ripped through the leather on the inside of my Muiras before I wore out the rubber! I was tired of my feet always hurting, so I bought a pair of general use Scarpas that were comfortable enough I could wear them most of the day without my feet rejecting them like a foreign pathogen. For a year I climbed, and climbed well, in them. I thought, maybe, all this hoopla about super tight climbing shoes was bologna. If I can climb 5.12 in comfortable shoes with no real noticeable difference in performance, then why put ourselves through all this suffering? 
This summer I’ve been shooting photography with incredibly strong boulderers that make climbing v15 look easier than me climbing v6 (I don’t really enjoy bouldering), so I’d usually throw my climbing shoes in my backpack and put in a few tries on nearby V-easies while the real climbers rested. I found, with increasing certainty, my shoes were holding me back from pushing harder on boulders’ precise and powerful movement. I didn’t want to believe it at first. I just generally threw it under the excuse, “I suck at bouldering,” which isn’t far from the truth.
Madrock M5
Madrock M5
Like many people, my first pair of climbing shoes were Mad Rocks, and I beat them up in a hurry. I’ve had a few pairs here and there since then, including the Demons, which I loved.
When I first pried the M5 onto my feet they were beyond tight, extremely hard to cram my foot into, but my feet found their customary position with the toes curled against the rand and my heal slid into place. I often joke about “The Shoe Crux”, struggling and putting more effort into getting your shoes on than you actually exert on the climb. The M5 definitely gave me a shoe crux to start, but now, 3 weeks later they slide right on. 
Precision. Above all, that is what I think when I’m wearing the M5. My footwork is way more precise. I know I can toe down on the tiniest nub and the Mad Rock rubber is going to stick. I have way more confidence in my feet. After a year of guessing, I feel like I can really work on my feet again. And I can boulder (whether or not I want to is another story). 
The fit is not as natural as the Demon’s, but it heal hooks with confidence and your curled toes give you the power to push off of the tiniest chip. Basically, it climbs hard.
Move the Pull-On straps!
I really only have two complaints on the shoe. The pull on straps are awkwardly placed so when you’re pulling hard the shoe flexes and makes it harder to get the shoe the rest of the way on. If the both straps were moved over just a bit it would ease the shoe on so much easier. 
Velcro needs a tab
Velcro needs a tab
Because the velcro extends beyond the rubber backing it makes it unnecessarily frustrating to undo the velcro straps. If the rubber backing went past the velcro or if the velcro strap were looped and sewn at the end it would solve this problem. 
Overall, I really like these shoes and I’m excited they  have stretched just enough to make it standable to have them on my feet longer than 2 seconds after my climb. 

Gear Review: Marmot Silverton Gore-Tex Pro Shell

I know, spring has sprung, but I’m just trying to get caught up on my blog posts. I have a ways to go.

I started ice climbing last year and fell in love with it. I didn’t get out nearly enough this year, but I got a few times in early in the season. I went to Vail with Kevin Kelly and Matt Lloyd last december and climbed East Vail Falls.

The Scotsman himself, Kevin Kelly hacking away, rocking my Marmot Silverton Goretex Pro Shell

I bought the Marmot Silverton Gore-Tex Pro Shell as my main ski and ice climbing jacket this year and it performed wonderfully. I gave up an insulated shell and layered up much more this season. On most in-bounds skiing days a base-layer, a puff, and the Silverton were more than enough to keep me warm. On the coldest of days I’d add another midlayer and be fine. I never felt too swampy in the jacket, the Gore-Tex letting the heat vapors pass through. The waterproof zippers can be hard to pull sometimes with gloves on, but overall not a big deal. The pockets are well placed and HUGE. The removable powder skirt was useful on the rare powder day in Colorado this year. 

There were many times that I was incredibly thankful I was wearing this jacket this season. One such example was in Hyalite Canyon, Montana on Slight of Hand (Near Emerald Lake). Even though it was well below freezing the waterfall on Slight of Hand was splashing all over the route. By the end of the route my glasses, beard, and most everything else were covered in icicles, but because the Gore-Tex Pro did it’s job my body was bone dry.
Getting into it on Sleight of Hand (WI4) in Hyalite Canyon, Montana. 
 I saw online when I ordered that the jacket fits tight and you should order a larger size than normal. I found the Medium baggier on me than I like and wished I’d gotten the small. But bigger does mean you can layer much more, which might come in handy this summer in Peru. Overall, I love the Silverton. It’s been a fantastic jacket, and I know it will be with me for seasons to come. 
And another gratuitous ice climbing photo of Matt Lloyd on East Vail Falls. 
Matt Lloyd soloing up the curtain.

Gear Reviews: Adidas Terrex Fast R Mid GTX & Swift Solo

I’ve been wearing the Adidas Terrex Fast R GTX‘s for most of my adventuring lately and I love them. They’re light weight but stable, have incredible traction, and edge decently well for a non-approach shoe. I feel much more stable on steep terrain than in my old Keens. They use the Continental Tire Rubber which feels very stable in most conditions.

Low Key product photo of Adidas Terrex Swift Solo shoe. 

Also the Adidas Terrex Swift Solo approach shoe has been a nice addition. I’ve worn them while climbing 5.10’s and they’re comfortable around town. A bit lighter than the Scarpa’s and quite a bit more attractive, I think. I grab them for many different occasions.

Gear Review: Oakley Canopy

Wearing glasses has always made wearing ski goggles uncomfortable for me. I have lots of problems with fogging and my face hurts from having the my glasses squeezed against my temples all day. When I was looking for goggles this year I looked at several different OTG (Over The Glasses) models, but most of them look like they haven’t been updated since the late 1970’s. When I found out that the Oakley Canopy, while extremely stylish, also were made to be OTG I was psyched. I wouldn’t have to look like a grandpa this year. The Canopy is a new addition to Oakley’s line of great goggles this year. 
Oakley Canopy
I do have to say that I never really imagined myself wearing Oakleys; I’ve always associated the brand with a certain type of person, one that I would like to think I am not. But maybe that applies more to the sunglasses than ski goggles. I still can’t really imagine spending $160 on a pair of sunglasses that I would lose or sit on. 
But these goggles are by far the most comfortable goggles I’ve ever worn, but perhaps that’s not saying a whole lot. I’ve never really invested good money in goggles, usually going for the cheapest I could find. For years I wore a kids goggle I found for $15 at a ski resort. I have no clue how I got my glasses in side them. And I thought fogging was just something you had to live with. Funny how technology solves a multitude of problems. 
The Oakley Canopy goggle is full of great technologies designed to enhance the user’s experience. The oversized goggle’s frame is light, comfortable, and low profile maximizing the space for the lens. It fits great around the nose, and the triple layer foam and fleece lining that keep contact with the face is comfortable all day long. Hidden spaces in the plastic of lens allow your prescription glasses to fit in the goggle without putting pressure on your temples. I’m loving being comfortable in them. The shape of the goggle and the articulating outriggers fit easily with most helmets as well (Oakley says their ventilation works better with Smith brand helmets than Smith’s own goggles).
The real technologies are in the lens. The dual lens keeps the cold air on the outside and the warm air on the inside which reduces the chance for condensation and fog. In the chance that there is fogging, the “F3 Anti-Fog” coating absorbs the moisture on the lens. Really the only problems I had with fogging were on my own glasses and as soon as I got moving the goggles brought in enough cool air to eliminate it. I should figure out a fix to my glasses fogging…
Oakley’s HD Optics keep the picture extra sharp and keeping the thickest point of the lens in the center eliminates any distortions you’d normally get with a lens this big. Oh yeah…this lens is BIG. You won’t miss any tree or mogul unless you are blinking. 
I’m psyched to be wearing these Oakleys this year.

Gear Review: Smith Variant Brim

They’ve been recommended for a while, but I didn’t really want to buy in. And every year they become more pervasive; now helmets are everywhere on the slopes. After a bad accident last year where I found myself flying through the air, screaming to myself, “PROTECT THE HEAD!” I thought maybe this is the year I should join the masses. 
What should a helmet be other than a bucket that holds your brain in when you smack something harder than your head? It should be light so you don’t think about that fact that you’re wearing a brain bucket. It should be comfortable and fit well in variable conditions, and it should keep you warm. But the Smith Variant Brim also wins on style; it doesn’t hurt that you look pretty good wearing it. 

Smith Variant Brim
Smith Variant Brim & Oakley Canopy Goggle
The Variant Brim has channels on the brim that pass air through it keeping heat from getting trapped and sending fog into your goggles. It gets its name from the vents on the top that can be opened and closed depending on how much air you want passing through the helmet. So far on days that are around 10ºF I’ve kept them closed, but I imagine it will be useful in late season. The Boa® fit system keeps the helmet fitting tight on your head, and you can change the size if you want to include a beanie underneath on extra cold days. If you’re really into your music on the slopes you can get Skullcandy ear pads to replace the standard ones.  

Overall I’m happy to wearing a helmet this year and glad to have the Smith Variant Brim protecting my noggin.